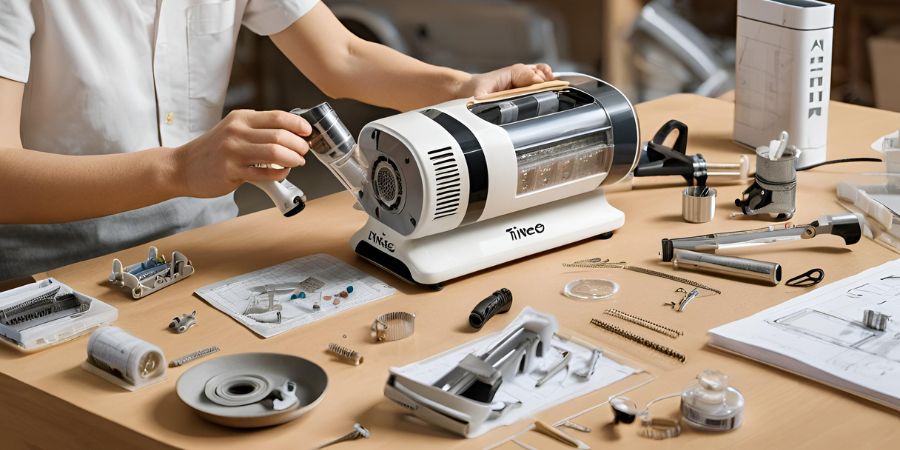
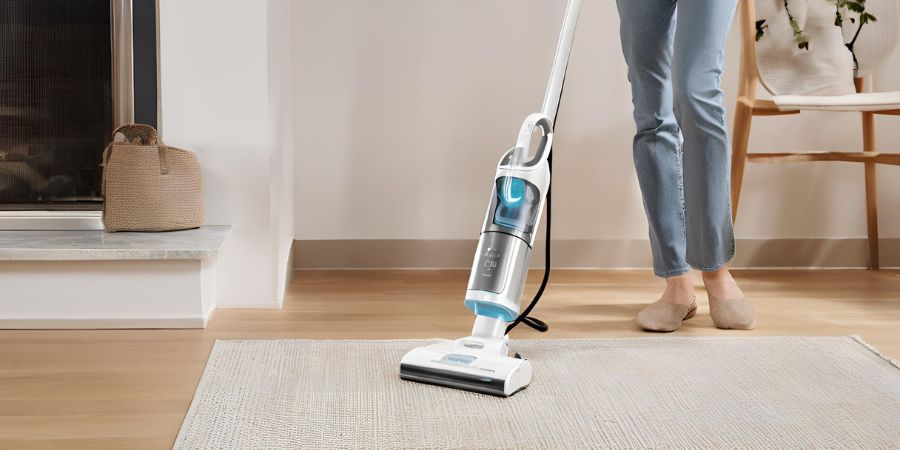
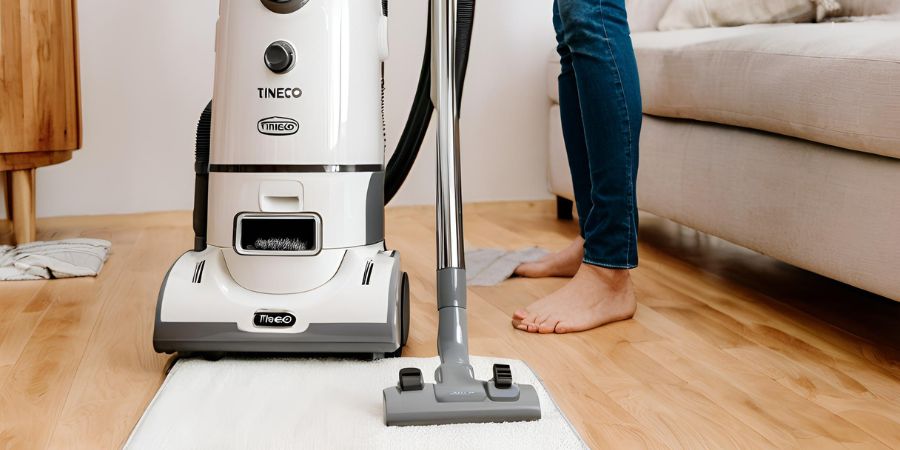
The Tineco S5 is a popular cordless vacuum cleaner known for its powerful suction, lightweight design, and user-friendly features. However, like any electronic device, it may require maintenance, cleaning, or repairs over time. Disassembling the Tineco S5 can help you clean hard-to-reach areas, replace worn-out parts, or troubleshoot issues. In this guide, we’ll walk you through the process of disassembling the Tineco S5 safely and effectively.
Why Disassemble the Tineco S5?
Before diving into the disassembly process, it’s important to understand why you might need to take apart your Tineco S5. Here are a few common reasons:
- Deep Cleaning: Over time, dust and debris can accumulate in areas that are difficult to reach during regular cleaning.
- Replacing Parts: Components like the battery, filters, or brush roll may wear out and need replacement.
- Troubleshooting: If your vacuum isn’t performing as expected, disassembling it can help you identify and fix the issue.
- General Maintenance: Regular disassembly and cleaning can extend the lifespan of your vacuum.
Now that you know why disassembling the Tineco S5 might be necessary, let’s get started with the step-by-step process.
Tools You’ll Need
Before you begin, gather the following tools to ensure a smooth disassembly process:
- Phillips-head screwdriver: For removing screws.
- Flat-head screwdriver: For prying open certain parts.
- Soft cloth: To protect the vacuum’s surface from scratches.
- Tweezers: For handling small components.
- Cleaning brush: To remove dust and debris.
- Replacement parts (if needed): Such as filters, batteries, or brush rolls.
Having these tools on hand will make the process easier and prevent damage to your vacuum.

Step 1: Safety First
Before disassembling the Tineco S5, ensure your safety by following these precautions:
- Turn Off the Vacuum: Make sure the device is powered off to avoid accidental activation.
- Remove the Battery: If your model has a removable battery, take it out to prevent electrical hazards.
- Work in a Clean, Well-Lit Area: A clutter-free workspace will help you keep track of small parts.
- Avoid Water: Keep liquids away from the vacuum to prevent damage to electronic components.
Step 2: Remove the Dustbin and Filters
The first step in disassembling the Tineco S5 is to remove the dustbin and filters. This is a straightforward process:
- Press the Dustbin Release Button: Locate the button on the back of the vacuum and press it to release the dustbin.
- Empty the Dustbin: Dispose of any debris or dirt inside the dustbin.
- Remove the Filters: Twist and pull out the filters located inside the dustbin compartment. These include the pre-motor filter and the HEPA filter.
- Clean the Filters: Rinse the filters under running water (if they are washable) and let them air dry completely before reassembly.
Step 3: Detach the Brush Roll
The brush roll is a critical component that can accumulate hair and debris over time. Here’s how to remove it:
- Flip the Vacuum Over: Place the Tineco S5 upside down on a soft cloth to protect its surface.
- Locate the Brush Roll Cover: Identify the cover that houses the brush roll.
- Remove the Screws: Use a Phillips-head screwdriver to remove the screws securing the brush roll cover.
- Take Out the Brush Roll: Gently pull out the brush roll and clean it thoroughly. Use tweezers to remove any tangled hair or debris.
Step 4: Disassemble the Main Body
Now that the dustbin, filters, and brush roll are removed, it’s time to disassemble the main body of the Tineco S5. Follow these steps:
- Remove the Screws: Use a Phillips-head screwdriver to remove the screws on the back and sides of the vacuum.
- Separate the Housing: Carefully pry open the housing using a flat-head screwdriver. Be gentle to avoid damaging the plastic clips.
- Disconnect the Motor: Once the housing is open, locate the motor and disconnect any wires attached to it.
- Inspect the Components: Take this opportunity to inspect the internal components for dust buildup or damage. Use a cleaning brush to remove any debris.
Step 5: Access the Battery Compartment
If you need to replace the battery or troubleshoot power-related issues, follow these steps to access the battery compartment:
- Locate the Battery Compartment: On most Tineco S5 models, the battery is housed in the lower part of the vacuum.
- Remove the Screws: Use a Phillips-head screwdriver to remove the screws securing the battery compartment.
- Disconnect the Battery: Carefully disconnect the battery from the vacuum’s wiring.
- Replace or Inspect the Battery: If you’re replacing the battery, insert the new one and reconnect the wires. If you’re inspecting it, check for signs of wear or damage.
Step 6: Reassemble the Tineco S5
After cleaning or replacing the necessary components, it’s time to reassemble your Tineco S5. Follow these steps in reverse order:
- Reconnect the Motor: Attach the motor wires and secure the motor in place.
- Close the Housing: Carefully snap the housing back together and reinsert the screws.
- Reinstall the Brush Roll: Place the brush roll back into its compartment and secure the cover with screws.
- Insert the Filters and Dustbin: Reattach the filters and dustbin, ensuring they are properly seated.
Tips for Maintaining Your Tineco S5

To keep your Tineco S5 in top condition, follow these maintenance tips:
- Clean the Filters Regularly: Washable filters should be cleaned at least once a month.
- Inspect the Brush Roll: Check the brush roll for tangled hair or debris after each use.
- Empty the Dustbin: Dispose of dirt and debris after every cleaning session.
- Store Properly: Keep your vacuum in a cool, dry place to prevent damage.
Final Thoughts
Disassembling the Tineco S5 may seem daunting at first, but with the right tools and a systematic approach, it’s a manageable task. Whether you’re performing routine maintenance, replacing parts, or troubleshooting an issue, this guide provides a comprehensive overview of the process. By taking care of your Tineco S5, you can ensure it continues to deliver optimal performance for years to come.
Remember to always handle the components with care and refer to the user manual for model-specific instructions.


