Your Tineco floor washer has transformed the way you clean your floors, but are you giving its clean water tank the attention it deserves? Regular maintenance of this essential component ensures your device delivers peak performance and keeps your floors genuinely spotless. Let’s explore everything you need to know about cleaning and maintaining your Tineco clean water tank.
Why Cleaning Your Tineco Clean Water Tank Matters
The clean water tank (CWT) is the heart of your Tineco floor washer’s cleaning system. Unlike the dirty water tank that collects grime, the clean water tank stores fresh water mixed with cleaning solution to wash your floors. When neglected, this tank becomes a breeding ground for bacteria, develops unpleasant odors, and compromises your entire cleaning routine.
Think about it: you wouldn’t mop your floors with dirty water from yesterday, would you? The same principle applies to your clean water tank. Even though it holds “clean” water, mineral deposits, residual cleaning solution, and bacteria can accumulate over time, affecting both hygiene and machine performance.
Many Tineco users report issues like reduced water flow, sensor errors, and persistent odors—all stemming from inadequate tank maintenance. The good news? Proper cleaning takes just minutes and dramatically extends your device’s lifespan.
What You’ll Need to Clean Your Tineco Water Tank
Before starting, gather these common household items:
- Mild dish soap (avoid harsh chemicals)
- Warm water (never hot, as it can warp plastic)
- Soft-bristled brush or non-abrasive sponge
- Microfiber cloth for drying
- White vinegar or baking soda (for deep cleaning)
- Toothbrush (for hard-to-reach spots)
- Clean towel
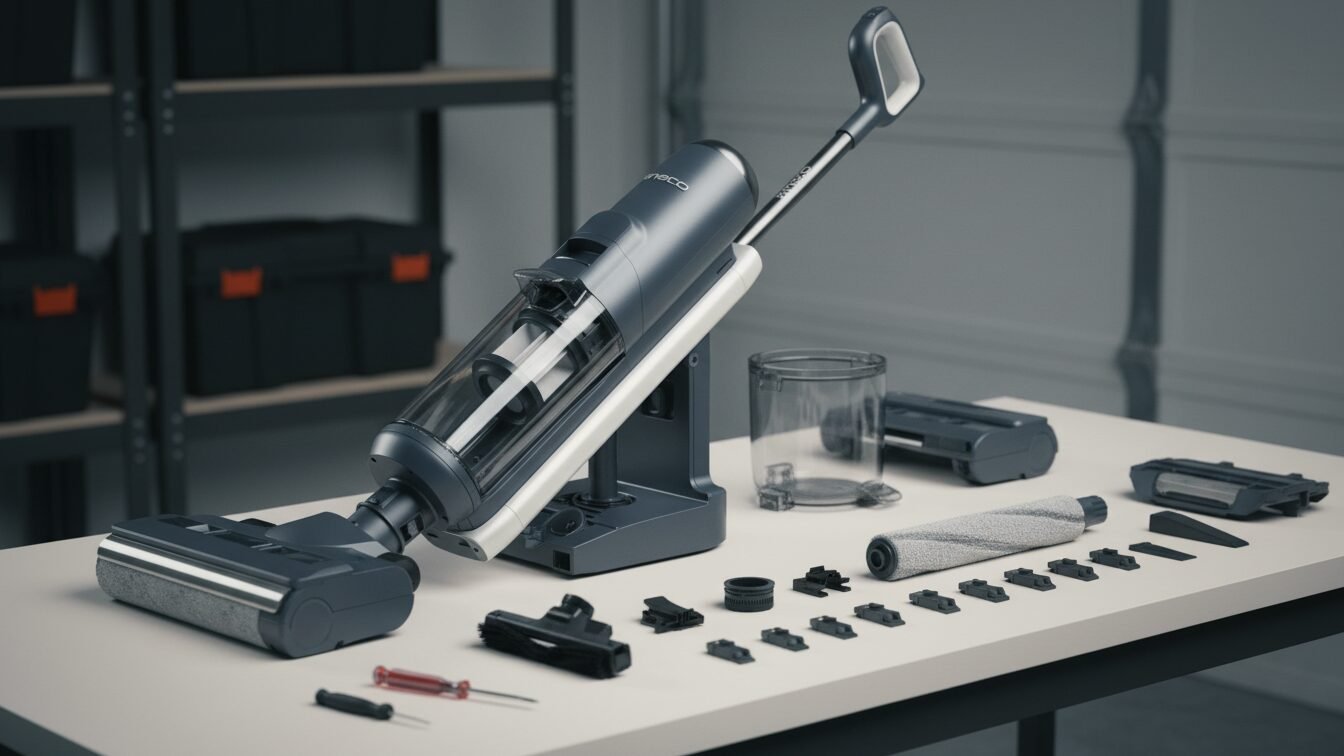
Your Tineco also comes with a specialized cleaning tool—keep it handy for this process.
Step-by-Step Guide: How to Clean Tineco Clean Water Tank
Step 1: Power Down and Remove the Tank
Safety first. Turn off your Tineco floor washer and unplug it from the charging base. Locate the clean water tank release button (typically on the side or front of the unit) and press it to detach the tank. Carefully remove the tank and pour out any remaining water.
Pro tip: Don’t let water sit in the tank between uses. Stagnant water promotes bacterial growth and creates that musty smell many users complain about.
Step 2: Disassemble Tank Components
Most Tineco models feature a clean water tank with removable parts like the cap, filter, and seal. Carefully disassemble these components according to your model’s manual. The Tineco Floor One S5, S3, and iFloor 3 series all have slightly different designs, but the basic process remains similar.
Check your specific model:
- Floor One S5 Series: Remove the tank lid and internal filter
- Floor One S3 Series: Detach the cap and inspect the rubber seal
- iFloor 3 Series: Remove the cap and check for any filter components
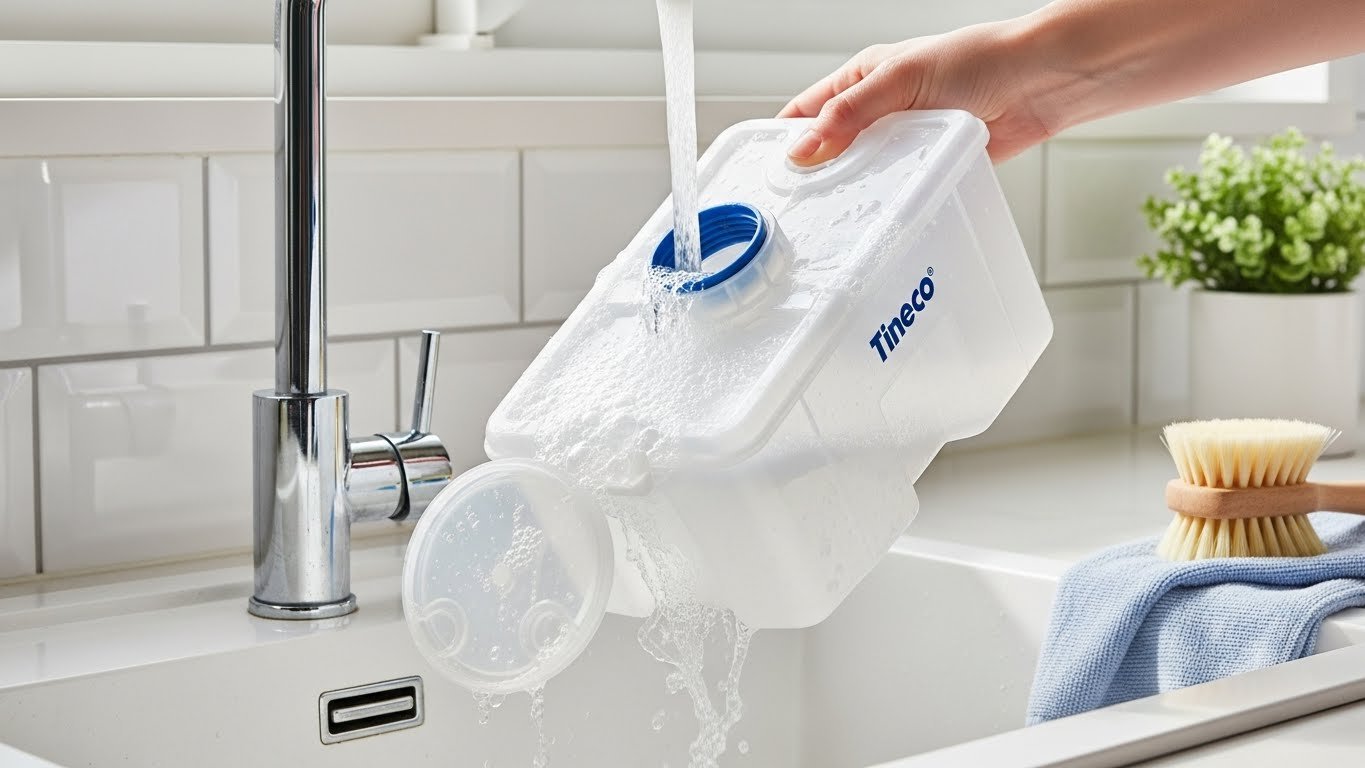
Step 3: Initial Rinse
Rinse all components under warm running water. This removes loose debris, dust, and residual cleaning solution. Hold the tank at different angles to ensure water reaches all internal corners. Don’t skip this step—it makes the deep cleaning much more effective.
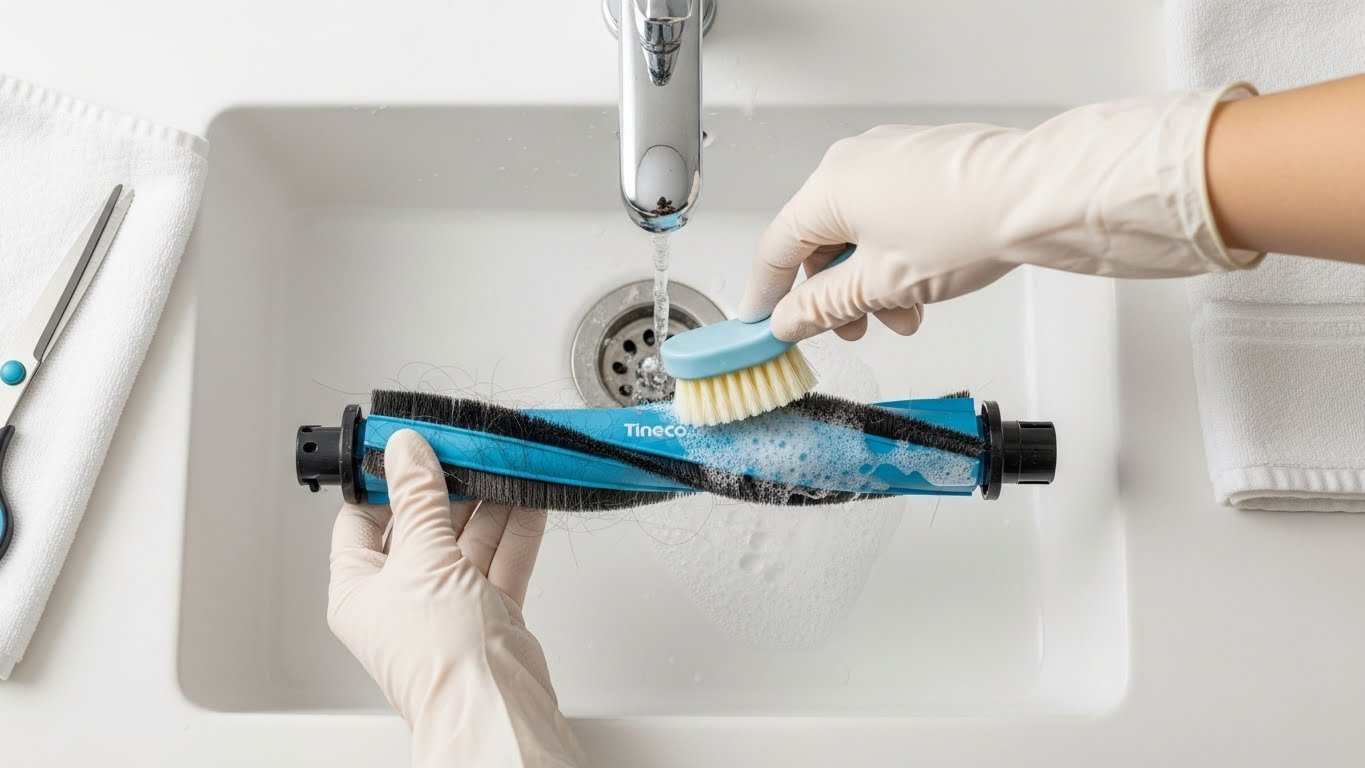
Step 4: Deep Clean with Soap
Fill the tank halfway with warm water and add several drops of mild dish soap. Using your soft-bristled brush or sponge, scrub the interior walls of the tank thoroughly. Pay special attention to:
- The bottom corners where sediment collects
- The tank opening and threading
- Areas around the sensor (that small metal piece at the base)
- The cap and seal grooves
For the smaller components like filters and caps, use a toothbrush to reach tight spaces. The goal is to remove any film, mineral deposits, or soap residue that has built up.
Step 5: Clean the Tank Sensor
This step is crucial and often overlooked. The water level sensor—usually a small metal contact point at the tank’s base—can develop film or corrosion over time. Sensors covered in residue trigger false “tank empty” errors that frustrate many users.
Gently wipe the sensor with a damp microfiber cloth. If you notice any corrosion or rust buildup, use a clean eraser or very fine sandpaper to carefully remove it. Be gentle—these sensors are delicate. Make sure the sensor is completely dry before reassembly.
Step 6: Tackle Stubborn Stains and Odors
If your tank has persistent stains or smells, use natural cleaning agents:
White Vinegar Method: Mix equal parts water and white vinegar in the tank. Let it soak for 15-20 minutes, then scrub and rinse thoroughly. Vinegar dissolves mineral deposits and neutralizes odors.
Baking Soda Method: Make a paste with baking soda and a small amount of water. Apply to stained areas, let sit for 10 minutes, then scrub and rinse. Baking soda is excellent for removing stubborn residue without damaging plastic.
Never use bleach or harsh chemical cleaners—they can damage internal components and void your warranty.
Step 7: Rinse Thoroughly
This step is critical. Rinse all components multiple times under warm running water until no soap residue remains. Soap buildup can create excess bubbles during cleaning, reducing suction performance and potentially damaging your machine.
Hold the tank upside down and shake out excess water. Rinse until the water runs completely clear.
Step 8: Dry Completely
Use a clean microfiber cloth to dry all external surfaces. For internal drying, let the tank air dry completely for at least 2-3 hours. Place it in a well-ventilated area, preferably with the opening facing down on a clean towel to allow moisture to escape.
Critical reminder: Never reassemble or use the clean water tank while components are still damp. Moisture trapped inside creates the perfect environment for mold and bacteria growth.
Step 9: Inspect and Reassemble
Before putting everything back together, inspect each component:
- Check for cracks or damage to the tank body
- Examine seals and gaskets for wear
- Look for any remaining debris in crevices
- Verify the filter (if applicable) is clean and dry
Once everything is completely dry and inspected, carefully reassemble the tank. Ensure all parts click or lock into place properly—improper assembly can trigger error messages on your Tineco.
Step 10: Reinstall and Test
Slide the clean water tank back into your Tineco until you hear or feel it click securely. Fill with fresh water up to the MAX line (never exceed this mark). Add one capful of Tineco cleaning solution if you’re ready to clean.
Power on your device and check that no error messages appear. The “CWT Empty” indicator should not be illuminated when the tank is properly filled and installed.
How Often Should You Clean the Tineco Clean Water Tank?
Establishing a regular cleaning schedule prevents most common issues:
After Every Use:
- Empty any remaining water
- Quick rinse under warm water
- Leave tank lid open to air dry
Weekly (with regular use):
- Deep clean with soap and water
- Clean the sensor
- Inspect for buildup
Monthly:
- Perform vinegar or baking soda treatment
- Check and clean any filters
- Inspect seals and gaskets
Every 3-6 Months:
- Replace filters (if applicable)
- Deep clean all components
- Check for signs of wear or damage
Adjust this schedule based on your usage frequency. If you use your Tineco daily, increase the frequency of deep cleaning to twice weekly.
Common Tineco Clean Water Tank Problems and Solutions
1. “Clean Water Tank Empty” Error When Tank is Full
This frustrating issue typically stems from sensor problems. The fix:
- Remove the tank and locate the sensor contacts
- Clean both the tank sensor and the machine’s contact points with a dry cloth
- Check for corrosion and gently remove with an eraser if present
- Ensure the tank is properly seated when reinstalled
- Verify the rubber seal isn’t damaged or displaced
If the error persists after cleaning, the sensor may need professional inspection.
2. Reduced Water Flow or No Water Spraying
When water doesn’t spray properly during cleaning:
- Check for clogs in the tank outlet
- Verify the solution cap is installed correctly
- Ensure you’re using water below 140°F (60°C)
- Confirm the tank is filled above the minimum line
- Clean any filters in the water path
- Check that you’re in the correct cleaning mode (not SUCTION mode)
3. Musty or Unpleasant Odors
That stale smell coming from your tank indicates bacterial growth:
- Perform a deep clean with vinegar solution
- Never store the tank with water inside
- Always allow complete drying between uses
- Consider adding a few drops of Tineco solution to the tank even when storing empty (creates a protective barrier)
- Replace old filters that may be harboring bacteria
4. Water Leaking from Tank
Leaks usually point to seal issues:
- Inspect the rubber gasket around the tank cap
- Check for cracks in the tank body
- Ensure the cap is tightened properly
- Verify the tank is fully seated in the machine
- Look for damage to the tank’s connection points
If seals are worn, contact Tineco support for replacement parts.
5. Tank Won’t Click into Place
Proper seating is essential for sensor function:
- Check for debris blocking the tank slot
- Verify you’re inserting the tank in the correct orientation
- Clean the connection area on both tank and machine
- Inspect for any broken clips or latches
- Try gently wiggling while applying pressure to engage the locking mechanism
Maintenance Tips to Keep Your Tineco Clean Water Tank in Perfect Condition
Prevention is easier than correction. Follow these pro tips:
- Use the Right Water: Tap water works fine, but if you have very hard water, consider using filtered water to reduce mineral buildup. Never use hot water above 140°F (60°C), as it can damage internal pipes and plastic components.
- Stick with Tineco Solution: While third-party cleaning solutions might be tempting, they often create excessive bubbles that fill the dirty water tank prematurely and can damage your machine. Tineco solutions are specifically formulated to work with your device’s technology.
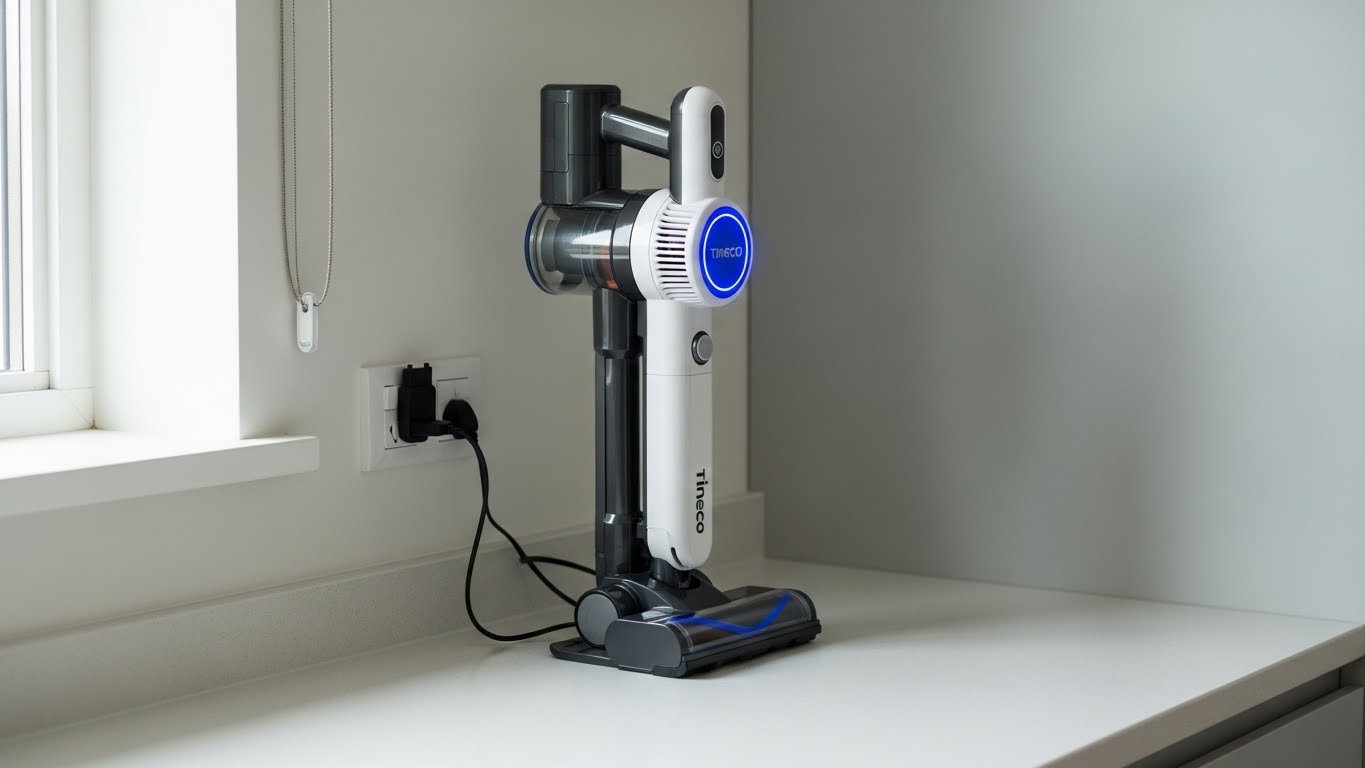
- Store Properly: After cleaning and drying, store your Tineco upright on its charging base in a cool, dry location away from direct sunlight. Don’t tuck it in a damp closet or basement where moisture can accumulate.
- Don’t Overfill: Respect the MAX fill line. Overfilling can cause leaks, trigger sensors incorrectly, and reduce cleaning efficiency.
- Run Self-Cleaning After Each Use: Most Tineco models feature a self-cleaning function. While this doesn’t replace manual tank cleaning, it helps flush the system and reduces buildup between deep cleans. Simply place the unit on its base with the dirty water tank empty and clean water tank at least 1/3 full, then press the self-cleaning button.
- Replace Filters on Schedule: If your model includes filters in the clean water tank system, follow the manufacturer’s replacement schedule (typically every 3-6 months depending on usage).
- Avoid Harsh Chemicals: Never use bleach, ammonia, or abrasive cleaners on your water tank. These damage plastic, degrade seals, and can void your warranty.
- Check Before Each Use: Before filling the tank for a cleaning session, do a quick visual inspection for cracks, debris, or anything unusual.
Understanding Your Tineco Model’s Specific Requirements
Different Tineco models have slightly different tank designs:
- Floor One S5 Series: Features a dual-tank design with intelligent sensors. The clean water tank includes a filter that should be checked monthly. This model is particularly sensitive to sensor cleanliness.
- Floor One S3 Series: Has a simpler tank design but requires the same care. The S3’s sensor is located at the tank base and benefits from regular cleaning to prevent false error messages.
- Floor One S7 Series: The latest model includes improved anti-bacterial materials in the tank construction but still requires regular cleaning. Its sensors are more sophisticated but also more sensitive to residue.
- iFloor 3 Series: Features a straightforward tank design with fewer electronic components but requires the same cleaning attention. This model is less prone to sensor errors but can develop odors if not maintained properly.
Consult your specific model’s manual for any unique requirements or warnings.
The Impact of Water Quality on Your Clean Water Tank
Your local water quality significantly affects tank maintenance needs:
- Hard Water Areas: If you live where water contains high mineral content, you’ll notice white or brown deposits forming faster. Increase deep cleaning frequency to every 4-5 days with regular use. The vinegar treatment is especially effective for dissolving these mineral deposits.
- Soft Water Areas: You may experience fewer buildup issues but should still maintain a regular cleaning schedule to prevent bacterial growth.
- Chlorinated Water: City water with high chlorine content can create a chemical smell in the tank. This dissipates with proper rinsing and drying but may require occasional vinegar treatments.
Troubleshooting Advanced Clean Water Tank Issues
Tank Discoloration
If your once-clear tank has developed a yellow or brown tint:
- This is often mineral staining or algae growth
- Perform extended vinegar soaks (up to 30 minutes)
- For stubborn discoloration, make a paste with baking soda and apply directly to stained areas
- Prevention: never leave water in the tank between uses
Persistent Foam During Cleaning
Excessive bubbles that fill your dirty water tank quickly indicate:
- Soap residue in the clean water tank
- Using non-Tineco cleaning solutions
- Too much cleaning solution added
- Fix: thoroughly rinse the clean water tank multiple times and reduce solution amount
Tank Sensor Repeatedly Fails
If cleaning doesn’t resolve sensor issues:
- The sensor may have permanent corrosion
- Contact Tineco support for potential replacement
- Check if your device is still under the 2-year warranty
- In the meantime, try wrapping a small amount of aluminum foil around the sensor area (temporary fix only)
Environmental and Health Benefits of Regular Tank Cleaning
Maintaining a clean water tank isn’t just about device performance—it impacts your home’s health:
Prevents Cross-Contamination: A dirty clean water tank spreads bacteria across your floors rather than cleaning them. This is especially concerning in homes with children, pets, or immunocompromised individuals.
Reduces Chemical Usage: A well-maintained tank requires less cleaning solution to achieve effective results, reducing chemical exposure in your home and environmental impact.
Extends Device Lifespan: Proper maintenance prevents costly repairs and premature replacement, reducing electronic waste.
Improves Indoor Air Quality: Eliminating odors from your cleaning equipment means you’re not introducing unpleasant smells into your home’s air every time you clean.
When to Contact Tineco Support
While most issues resolve with proper cleaning, contact professional support if:
- Error messages persist after thorough cleaning
- You notice cracks or damage to the tank
- The sensor area shows extensive corrosion
- Water leaks despite replacing seals
- The tank won’t secure properly after cleaning
- Your device is under warranty and experiencing recurring issues
Tineco offers 2-year warranty coverage on most models and provides helpful customer service:
- Phone: 1-855-292-8864 (Mon-Fri, 8 AM – 8 PM CST)
- Email: support@tineco.com
- Website chat support available
Frequently Asked Questions About Cleaning Tineco Clean Water Tank
Q: Can I put my Tineco clean water tank in the dishwasher?
A: No, never put the clean water tank in a dishwasher. High heat can warp the plastic, damage seals, and harm electronic sensors. Always hand wash with warm (not hot) water and mild soap.
Q: How do I remove hard water stains from my Tineco tank?
A: Mix equal parts white vinegar and water, soak the tank for 20 minutes, then scrub with a soft brush. For stubborn mineral deposits, make a paste with baking soda and apply directly to stained areas. Rinse thoroughly afterward.
Q: Why does my clean water tank smell even after cleaning?
A: Persistent odors usually mean bacteria have colonized hard-to-reach areas. Try a 30-minute vinegar soak, ensuring solution reaches all corners. Also check that you’re allowing the tank to completely air dry between uses—trapped moisture creates ideal conditions for bacterial growth.
Q: How often should I replace the clean water tank filter?
A: Most Tineco models recommend filter replacement every 3-6 months depending on usage frequency and water quality. If you use your floor washer daily or have hard water, replace filters every 3 months. For occasional use, 6 months is typically sufficient.