Are you struggling with how to disassemble Tineco S5 for cleaning or repairs? You’re in the right place. This comprehensive guide walks you through every step of safely taking apart your Tineco Floor One S5, whether you need deep cleaning, part replacement, or troubleshooting.
Why You Need to Disassemble Your Tineco S5
Understanding when and why to take apart your floor washer can save you time and money. Most Tineco S5 owners will eventually need to access internal components for various reasons beyond routine maintenance.
Common Reasons for Disassembly
Deep cleaning becomes necessary when regular maintenance isn’t enough. Dust, hair, and debris accumulate in hard-to-reach areas over time, affecting suction power and cleaning efficiency. If you notice reduced performance or strange odors, a thorough disassembly and cleaning can restore your machine’s original power.
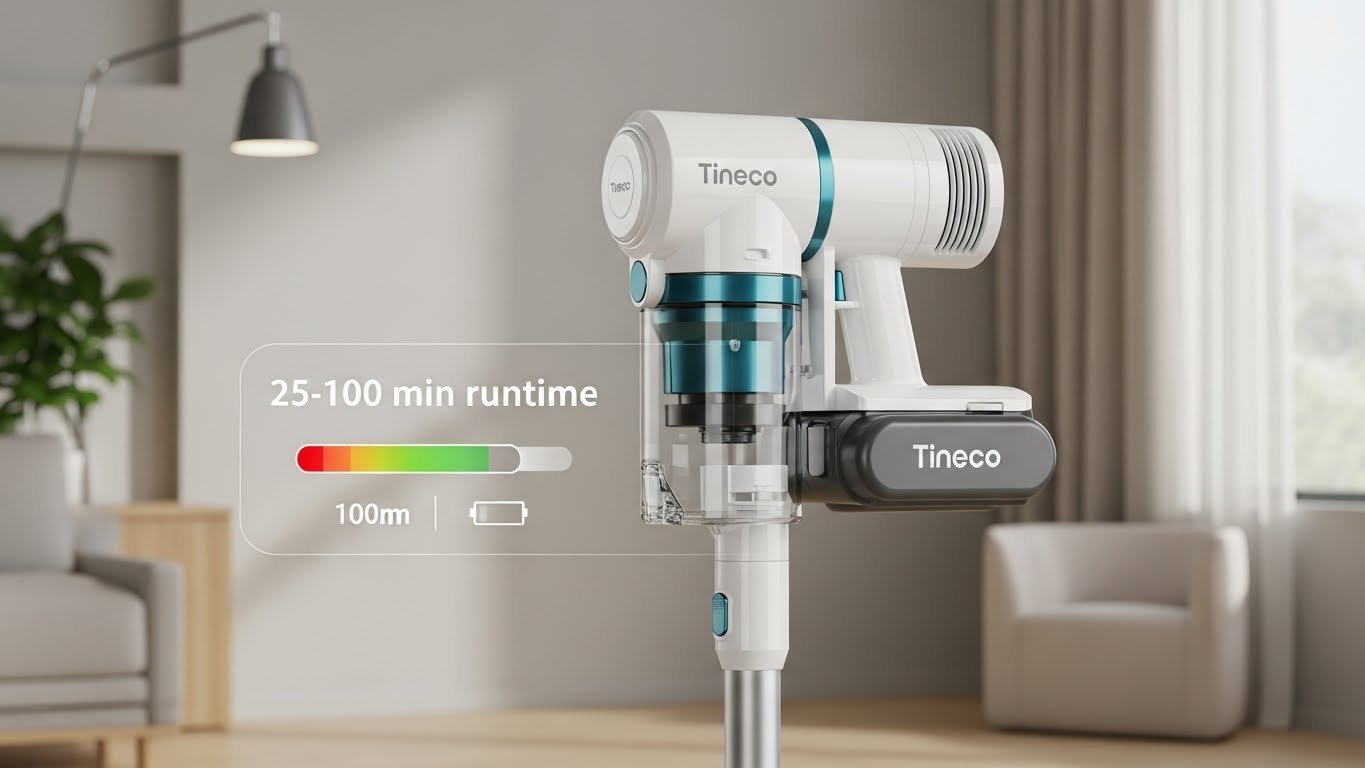
Parts wear out naturally with regular use. The brush roller typically needs replacement every three to six months, depending on usage frequency. Filters, batteries, and other components have specific lifespans, and knowing how to disassemble your Tineco S5 allows you to replace these parts yourself rather than paying for professional service.
Troubleshooting requires access to internal mechanisms. When your vacuum displays error codes, makes unusual noises, or stops working properly, disassembly helps identify the problem. Many issues can be resolved at home once you understand your machine’s internal layout.
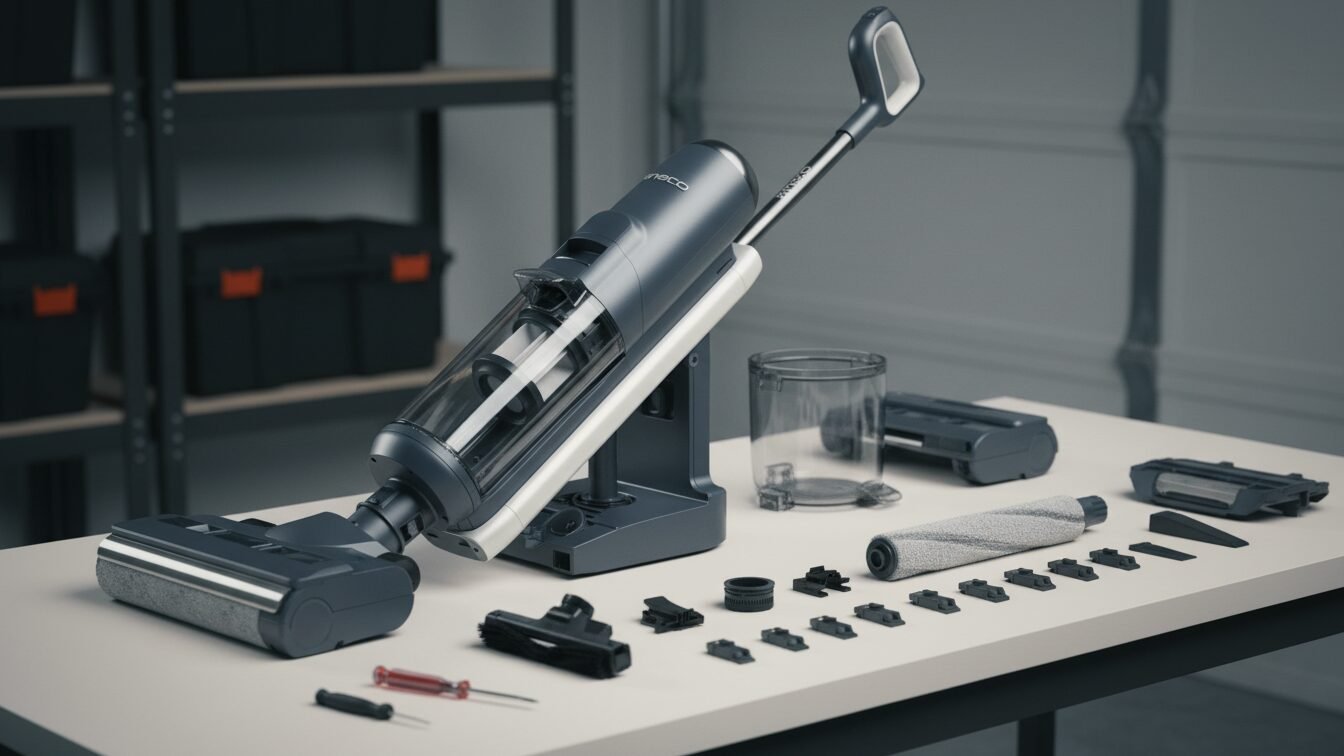
Essential Tools and Safety Preparations
Before starting any disassembly work, gather the right tools and take necessary safety precautions. Having everything ready prevents interruptions and potential damage to your appliance.
Required Tools for Disassembly
You’ll need a Phillips-head screwdriver for removing screws throughout the unit. A flat-head screwdriver helps pry open housing components without damaging plastic clips. Keep a soft cloth nearby to protect surfaces from scratches during the process.
Tweezers prove invaluable for handling small components and extracting debris from tight spaces. A cleaning brush helps remove accumulated dust and dirt from internal parts. If you plan to replace components, have your replacement parts ready before beginning.
Safety First: Critical Precautions
Always power off your Tineco S5 completely before starting. Remove the unit from the charging base to prevent electrical hazards. If your model has a removable battery, take it out first to eliminate any risk of accidental power-on during disassembly.
Keep liquids away from all electronic components throughout the process. Water damage can permanently destroy circuit boards and sensors. Work in a clean, dry area with adequate lighting so you can see all components clearly.
Take photos at each step of disassembly. These reference images help tremendously during reassembly, especially if you’re performing this task for the first time.
How to Disassemble Tineco S5 Handle
The handle disassembly is often the most challenging part for new users, but once you understand the mechanism, it becomes straightforward. The Tineco S5 handle uses a spring-loaded release system that requires careful attention.
Removing the Handle Assembly
Start by locating the screw at the back of the vacuum, just below the handle grip. Using your Phillips-head screwdriver, completely remove this screw and set it aside in a safe place. This screw is essential for reassembly, so don’t lose it.
After removing the screw, you’ll see a small hole where the screw was located. This hole provides access to the spring release mechanism. Take your flat-head screwdriver or a similar tool and insert it into the hole.
Press firmly on the spring mechanism while simultaneously pulling the handle upward. You may need to apply considerable force, as the spring is designed to hold the handle securely during normal use. The handle should release and slide out once the spring is fully depressed.
If the handle doesn’t release immediately, don’t force it excessively. Check that you’ve fully removed the screw and are pressing the spring mechanism correctly. Some users find it helpful to have a second person assist with this step.
Removing Water Tanks and Filters
The water tank and filter systems are designed for easy removal during regular maintenance, but proper technique ensures you don’t damage any components or create leaks.
Clean Water Tank Removal
The clean water tank typically sits at the front of the unit. Look for the release button or tab, usually located on top of the tank. Press this button while lifting the tank upward and away from the main body.
Empty any remaining water from the tank before proceeding with further disassembly. Rinse the tank thoroughly with clean water to remove soap residue and prevent bacterial growth.
Dirty Water Tank Disassembly
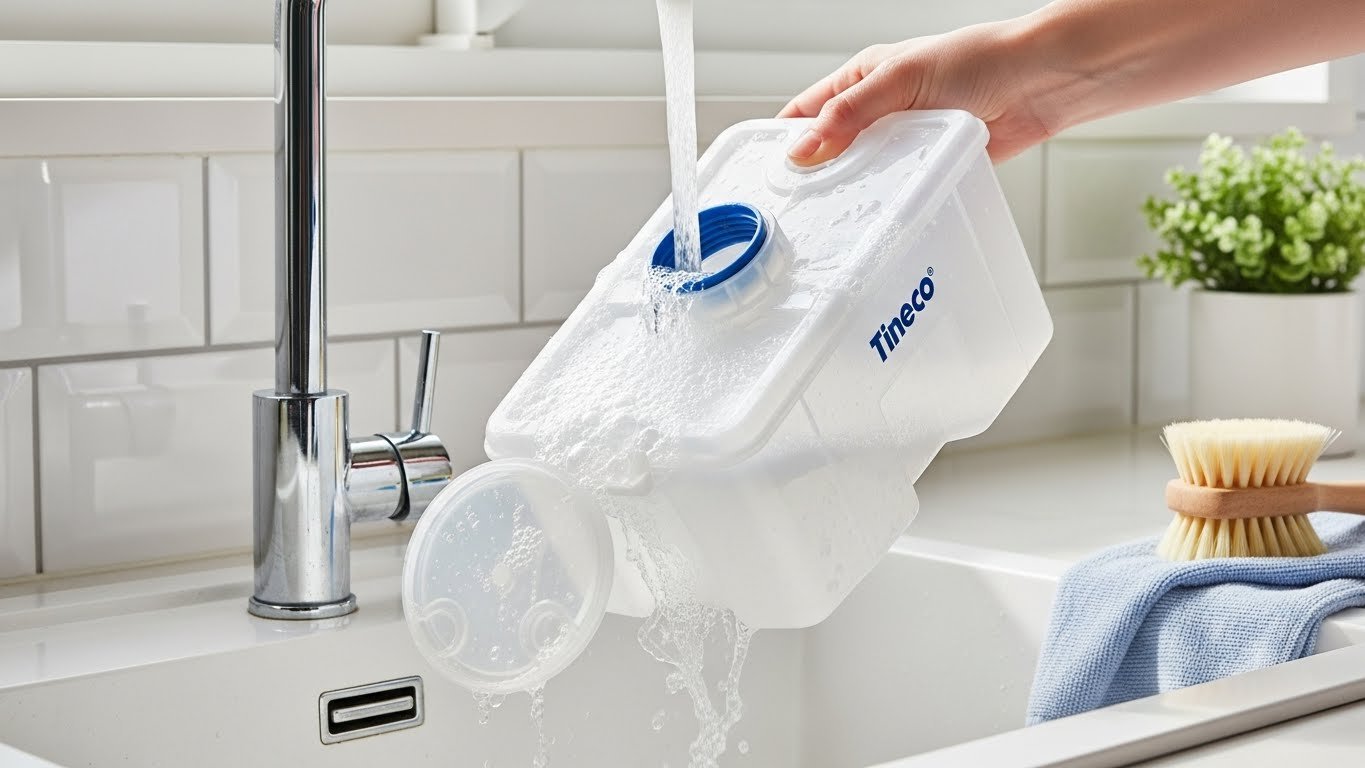
The dirty water tank requires more attention due to its complex filter system. Press the tank release button and lift the tank from the unit. You’ll immediately notice debris and dirty water inside.
Pull up the tank lid to empty contents completely. Use the provided cleaning tool to remove hair, dirt, and other debris clinging to the tank walls. The filter assembly sits inside the dirty water tank and needs regular cleaning.
Grasp the recessed areas on each side of the dry filter holder and pull upward to remove. The filter separates into multiple components: the filter net, dry filter, and holder. Rinse all parts under running water, ensuring they’re completely dry before reassembly.
Disassembling the Brush Roller System
The brush roller accumulates more hair and debris than any other component. Knowing how to properly disassemble and clean this system dramatically improves your machine’s performance.
Accessing the Brush Roller
Flip your Tineco S5 upside down, placing it on a soft cloth to protect the surface. Locate the brush roller cover, which spans the width of the cleaning head.
Look for the release tabs or buttons on either side of the brush roller compartment. Press these tabs simultaneously while lifting the cover away. Some models require you to slide the cover rather than lift it straight up.
Removing and Cleaning the Brush Roller
Once the cover is off, the brush roller should lift out easily. Grab both ends of the roller and pull upward. If it resists, check for any locking mechanisms you might have missed.
Examine the brush roller carefully for tangled hair, thread, or debris wrapped around the bristles. Use scissors to carefully cut away hair tangles, being cautious not to damage the bristles. The Tineco S5 comes with a spare brush roller, so keep your old one as a backup once cleaned.
The brush roller chamber beneath where the roller sits also needs attention. Use your cleaning brush to remove accumulated dirt and debris from this area. A clean chamber ensures proper roller operation and prevents unusual noises.
Main Body and Housing Disassembly
Opening the main housing provides access to internal components like the motor, circuit boards, and wiring. This advanced disassembly should only be performed when absolutely necessary.
Removing Housing Screws
Locate all screws securing the housing. These are typically found on the back and sides of the unit. The number and location vary slightly between S5 models (S5 Pro, S5 Combo, S5 Steam), so inspect your specific model carefully.
Use your Phillips-head screwdriver to remove each screw, organizing them by location. Different areas may use different screw lengths, so keeping them sorted prevents confusion during reassembly.
Separating the Housing Components
After removing all screws, the housing sections separate, but plastic clips still hold them together. Insert your flat-head screwdriver into the seam between housing sections and gently pry them apart.
Work slowly around the entire perimeter, releasing clips gradually rather than forcing one area. This prevents breaking the plastic clips, which would compromise the housing integrity.
Once all clips release, carefully separate the housing halves. Be extremely careful of wires connecting the two sections. Don’t pull the halves completely apart until you’ve identified and can safely manage these wire connections.
Internal Component Inspection
With the housing open, you can see the motor, circuit boards, sensors, and wiring. This is an excellent opportunity to inspect for dust accumulation, loose connections, or damaged components.
Use your cleaning brush to gently remove dust from the motor housing and circuit boards. Never use water or cleaning solutions on these internal electronic components.
If you need to disconnect the motor or other internal parts, take detailed photos first. Wire connectors typically have locking tabs that must be pressed before pulling the connection apart.
Battery Compartment Access and Replacement
The battery powers your cordless Tineco S5, and knowing how to access and replace it extends your machine’s lifespan significantly.
Locating the Battery Compartment
The battery compartment is typically housed in the lower section of the main body, often integrated into the handle assembly. On most S5 models, you need to remove the handle first before accessing the battery.
Some models feature a removable battery design accessible without full disassembly. Check your specific S5 variant’s manual to determine your battery configuration.
Battery Removal Process
Once you’ve located the battery compartment, look for the release mechanism. This is usually a button or sliding latch that secures the battery in place.
Press or slide the release mechanism while pulling the battery pack away from the unit. The battery should slide out smoothly without excessive force. If it’s stuck, check for additional locking mechanisms you might have missed.
Installing a Replacement Battery
When installing a new battery, ensure it’s an official Tineco replacement or a certified compatible battery. Third-party batteries may void your warranty and potentially damage your machine.
Slide the new battery into the compartment, aligning the contacts properly. You should hear or feel a click when it’s fully seated. Test the connection by turning on your Tineco S5 briefly to confirm the battery is functioning.
Cleaning Internal Components During Disassembly
Having your Tineco S5 disassembled presents the perfect opportunity for thorough internal cleaning that’s impossible during regular maintenance.
Motor and Fan Housing Cleaning
The motor housing collects fine dust particles that bypass the filter system. Use a dry cleaning brush to remove this dust carefully. Never use compressed air at high pressure, as this can force debris deeper into the motor.
Inspect the fan blades visible through the motor housing for buildup. Clean fan blades improve airflow and maintain strong suction power.
Sensor and Circuit Board Maintenance
The Tineco S5’s smart sensors monitor dirt levels, water flow, and system performance. These sensors can become covered with dust and debris, causing inaccurate readings or error messages.
Gently wipe sensors with a clean, dry microfiber cloth. Don’t use any liquids or cleaning solutions that could damage sensitive electronics.
Circuit boards should only be cleaned with a soft, dry brush. Remove any dust accumulation, but avoid touching electronic components directly with your fingers, as oils from your skin can cause problems.
Common Issues Resolved by Disassembly
Many Tineco S5 problems can be diagnosed and fixed once you’ve disassembled the unit and inspected internal components.
Reduced Suction Power Solutions
When suction power decreases, the problem usually lies in clogged filters, blocked air pathways, or accumulated debris in the motor housing. Disassembly reveals these issues clearly.
Check all air pathways from the brush roller chamber through to the dirty water tank. Any blockage in this route reduces suction significantly. Hair and debris often accumulate at junction points between sections.
Strange Noises and Vibrations
Unusual sounds typically indicate loose components, damaged parts, or foreign objects caught in moving parts. With the unit disassembled, you can identify the source of these noises.
Inspect the brush roller for damage or imbalance. A bent or damaged roller creates vibrations during operation. Check that all screws and components are properly tightened, as loose parts rattle during use.
Error Code Troubleshooting
The Tineco S5 displays various error codes for different problems. Many of these errors relate to sensors or component detection issues that become obvious once disassembled.
A brush roller error might simply be debris blocking the roller’s rotation sensor. A tank error could be caused by dirty contacts on the tank detection system. Clean all contact points with a dry cloth during disassembly.
Reassembly Process and Tips
Proper reassembly is crucial for your Tineco S5 to function correctly and safely after disassembly.
Following Reverse Order
Always reassemble in the reverse order of disassembly. This ensures you don’t miss any steps or leave components disconnected.
Refer to the photos you took during disassembly. These visual references help identify proper placement and orientation of components.
Securing All Connections
Before closing the housing, double-check that all wire connections are secure. Loose electrical connections can prevent operation or cause intermittent problems.
Ensure all clips and tabs properly engage before installing screws. Forcing screws when plastic clips aren’t aligned can crack the housing.
Testing After Reassembly
Before considering the job complete, test your Tineco S5 thoroughly. Fill the clean water tank and run the unit briefly to verify all functions work correctly.
Check for unusual noises, vibrations, or error messages. Inspect all seals and connections for leaks during initial testing. If any problems appear, disassemble the relevant section and inspect for assembly errors.
Maintenance Schedule and Best Practices
Regular maintenance prevents many issues that would otherwise require full disassembly.
Daily Maintenance Requirements
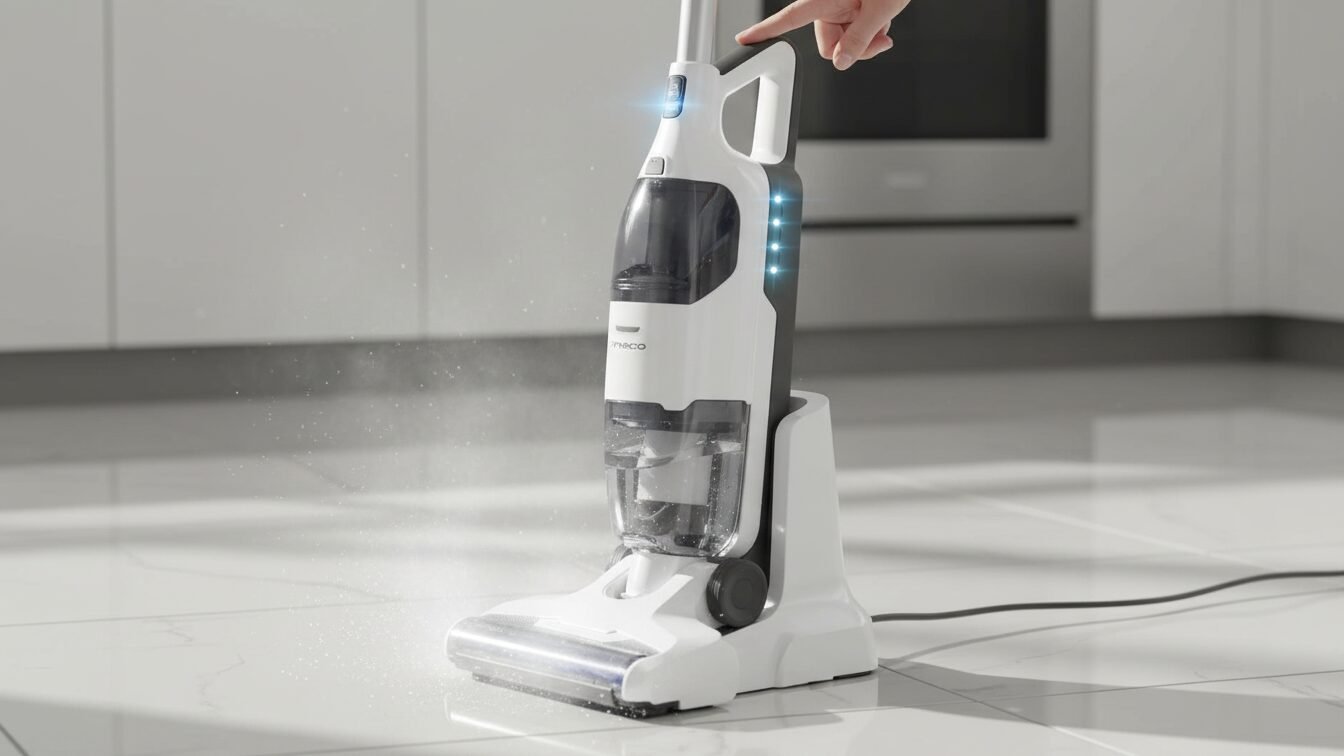
After each use, empty both water tanks and run the self-cleaning cycle. This automated cleaning process flushes the internal tubing and brush roller, preventing odor and bacterial growth.
Rinse the dirty water tank thoroughly and allow it to air dry before storage. Proper drying prevents mold and mildew formation.
Weekly Deep Cleaning
Once weekly, remove and clean the brush roller manually, even if it appears clean. Hair and fine debris can hide deep within the bristles, reducing cleaning effectiveness.
Clean both filters under running water and allow them to dry completely before reinstalling. Wet filters dramatically reduce suction power and can damage the motor.
Monthly Comprehensive Maintenance
Monthly maintenance should include checking all moving parts for wear, cleaning the charging contacts, and inspecting hoses and tubes for cracks or blockages.
Wipe down the exterior housing and clean the LED display. Check that all buttons and controls function smoothly.
When to Seek Professional Help
While many repairs are DIY-friendly, some situations require professional service to avoid damaging your Tineco S5 or voiding the warranty.
Warranty Considerations
Your Tineco S5 comes with a two-year warranty covering defects in materials and workmanship. Opening certain sealed components or making unauthorized modifications voids this warranty.
Before performing any disassembly beyond basic maintenance, check your warranty status. For in-warranty units with major issues, contact Tineco customer support rather than attempting complex repairs yourself.
Complex Electrical Issues
Problems involving circuit boards, the main motor, or the charging system require specialized knowledge and tools. Attempting these repairs without proper expertise can result in permanent damage or safety hazards.
If your Tineco S5 won’t charge, displays persistent error codes despite cleaning, or has suffered water damage to internal electronics, seek professional repair service.
Parts Not Available to Consumers
Some internal components aren’t sold as replacement parts to consumers. Specialized sensors, proprietary circuit boards, and integrated assemblies require professional service for replacement.
Replacement Parts Guide
Knowing which parts to keep on hand and where to purchase genuine components ensures you can quickly address common wear issues.
Commonly Replaced Components
The brush roller requires replacement every three to six months with regular use. The soft microfiber bristles wear down over time, reducing cleaning effectiveness. Genuine Tineco replacement brush rollers maintain optimal performance.
Filters need regular replacement when they no longer come clean with washing or show visible damage. The dry filter and HEPA filter work together to trap fine particles and allergens.
The battery eventually loses capacity after hundreds of charge cycles. When runtime decreases significantly, a new battery restores original performance.
Where to Buy Genuine Parts
Purchase replacement parts directly from the official Tineco website or authorized retailers. Genuine Tineco parts ensure proper fit and function while maintaining your warranty coverage.
Third-party alternatives exist but may not meet Tineco’s quality standards. Saving money on cheap replacement parts often costs more in the long run through reduced performance or compatibility issues.
Cost Considerations
Replacement brush rollers typically cost between twenty-five and thirty dollars. Filter replacements range from fifteen to twenty dollars. Genuine Tineco batteries cost significantly more but provide reliable, long-lasting performance.
Consider purchasing accessory kits that include multiple replacement items at a bundled discount. Many Tineco retailers offer subscription services for regular delivery of consumable parts.
FAQ
How often should I fully disassemble my Tineco S5 for deep cleaning?
Most users should perform a complete disassembly and deep clean every three to six months, depending on usage frequency. If you use your Tineco S5 daily, quarterly deep cleaning prevents buildup that affects performance. Light users can extend this to six months. Signs you need immediate deep cleaning include reduced suction, strange odors, or error messages despite regular maintenance.
Can I disassemble my Tineco S5 without voiding the warranty?
Basic maintenance disassembly, including removing the handle, water tanks, filters, and brush roller, doesn’t void your warranty. These are considered normal user-serviceable components. However, opening sealed sections of the main housing or attempting unauthorized repairs on electronic components will void warranty coverage. Always check your warranty documentation before performing advanced disassembly work.
What’s the most common mistake people make when disassembling the Tineco S5?
The most frequent error is forcing the handle removal without properly releasing the spring mechanism. Many users break the plastic handle mounting by pulling too hard without depressing the spring release. Always ensure you’ve fully pressed the spring mechanism before pulling the handle. Another common mistake is not taking reference photos during disassembly, making reassembly confusing and error-prone.
How do I know if my Tineco S5 needs battery replacement or just cleaning?
If your vacuum’s runtime has decreased to less than half of its original duration and recharging doesn’t improve performance, the battery likely needs replacement. However, if the unit still runs for a reasonable time but shows reduced suction or cleaning effectiveness, the issue is probably dirty components rather than battery failure. Perform a thorough cleaning first before investing in a new battery, as internal buildup causes most performance problems.