Is your Tineco vacuum not picking up dirt like it used to? Weak suction, a strange smell, or more dust floating around after cleaning — these are all telltale signs that it’s time to replace your Tineco HEPA filter. The good news? Knowing how to replace a Tineco HEPA filter is easier than you might think, and doing it regularly can make a massive difference in both your vacuum’s performance and your home’s air quality.
In this guide, we’ll walk you through everything — from understanding what a HEPA filter does, to a model-by-model breakdown, to step-by-step replacement instructions. Let’s get into it.
What Is a HEPA Filter and Why Does It Matter?
HEPA stands for High-Efficiency Particulate Air. A true HEPA filter is engineered to capture at least 99.97% of airborne particles as small as 0.3 microns — that includes dust, pollen, pet dander, mold spores, and even some bacteria.
In a Tineco vacuum, the HEPA filter sits at the final stage of filtration. It ensures that the air expelled back into your room is cleaner than the air that went in. Without a functioning HEPA filter, your vacuum is basically redistributing allergens instead of removing them.
Over time, the filter becomes saturated with microscopic debris. When that happens, airflow gets restricted, suction drops, and your vacuum has to work harder — shortening its lifespan in the process.
Signs It’s Time to Replace Your Tineco HEPA Filter
Not sure if your filter needs replacing? Here are the most common warning signs:
- Noticeable drop in suction power even after emptying the dustbin
- Musty or stale odor coming from the vacuum during use
- Increased allergy symptoms after vacuuming your home
- Visible dirt, discoloration, or damage on the filter itself
- The filter indicator light on your Tineco app or unit is triggered
If you’re experiencing any of these, it’s almost certainly time for a fresh filter.
How Often Should You Replace the Tineco HEPA Filter?
According to Tineco’s official guidelines, you should wash the HEPA filter every 3 months and replace it entirely every 12 months. However, that schedule assumes average household use.
You may need to replace it more frequently if you:
- Have pets that shed heavily
- Vacuum daily or multiple times per week
- Live in a dusty environment
- Suffer from allergies or asthma
- Vacuum fine powders or construction debris
For households with pets or allergy sufferers, replacing the HEPA filter every 3 to 6 months is a safer bet. The pre-filter should be replaced every 6 months regardless.
Finding the Right Replacement Filter for Your Tineco Model
Not all Tineco HEPA filters are interchangeable. Each model requires a specific filter designed for its dimensions and airflow specs. Using the wrong filter can hurt performance — or even damage the motor.
Here’s a quick reference for popular Tineco models:
| Tineco Model | Filter Location | Notes |
|---|---|---|
| A10 / A11 Series | Near motor, behind dustbin | Filters are typically washable |
| S11 Series | Rear of motor unit | Twist-cap design |
| Pure One Series | Side or rear housing | Check user manual for exact model |
| Floor One / iFloor | Internal housing near dustbin | Wet-dry models; dry completely before reinstalling |
Pro tip: Always check your model number (found on the bottom or side of the unit) and cross-reference it on Tineco’s official website or authorized retailers like Amazon before purchasing a replacement. Using genuine Tineco filters is strongly recommended.
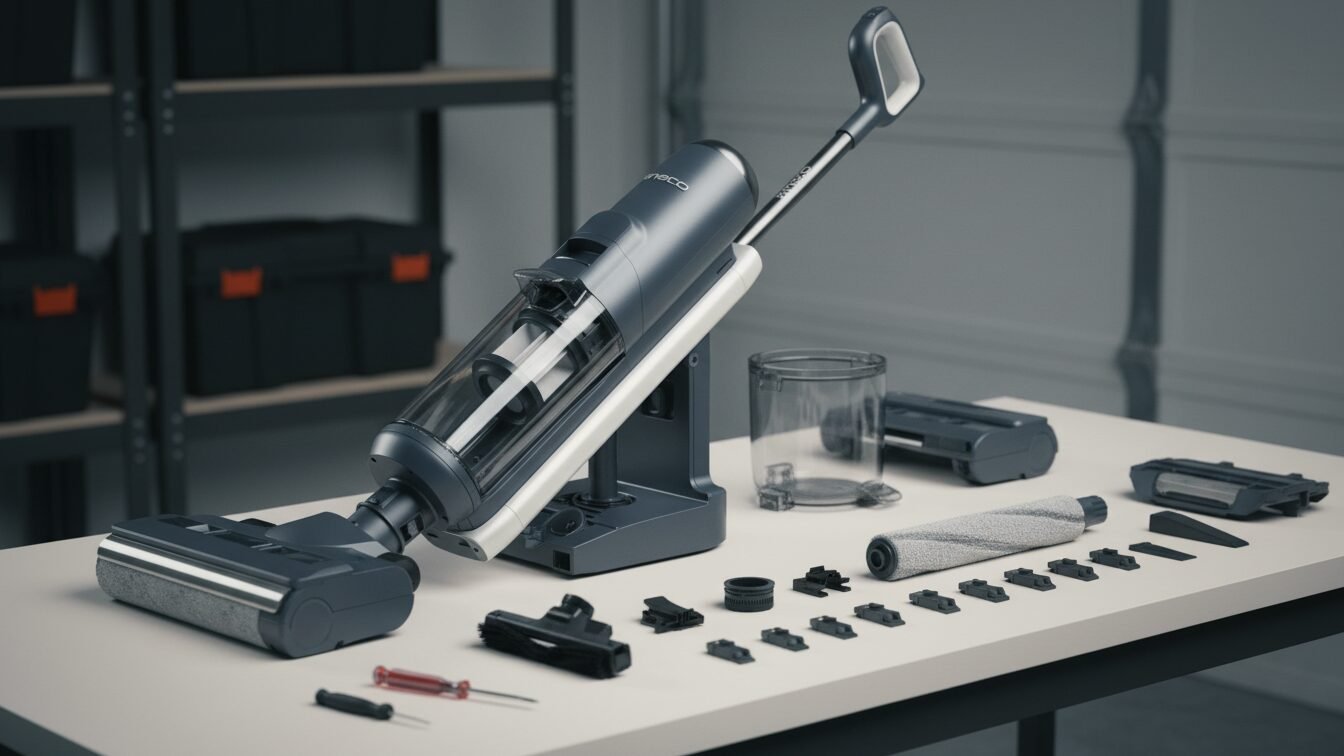
What You’ll Need Before You Start
Gather these items before beginning the replacement process:
- The correct replacement HEPA filter for your specific Tineco model
- A soft brush or dry cloth for cleaning the filter housing
- A trash bag for disposing of the old filter
- Optional: a pair of disposable gloves (especially helpful for allergy sufferers)
- Optional: a dust mask if you’re sensitive to airborne particles
Choose a well-ventilated area to do this. Removing an old filter can release trapped dust into the air, so don’t do it next to an open vent or in a small enclosed room.
How to Replace Tineco HEPA Filter: Step-by-Step Instructions
Step 1: Power Off and Unplug Your Vacuum
Safety first. Before anything else, make sure your Tineco vacuum is completely turned off. If it’s a corded model, unplug it from the wall outlet. If it’s a cordless model (like the A10 or A11), remove the battery pack if it detaches, or simply ensure the unit is powered down.
Never attempt to replace the filter while the vacuum is running or connected to power.
Step 2: Locate the HEPA Filter Compartment
The location of the HEPA filter varies slightly depending on your Tineco model:
- A10 / A11 Series (handheld/stick vacuums): The HEPA filter is typically housed near the motor, just behind or below the dustbin. You’ll see a cover with two side latches.
- S11 Series: Look at the rear of the main body, just above the trigger. There are two side latches — press them simultaneously and pull the cover outward.
- Pure One / Floor One Series: Refer to your user manual, as the housing can be on the side or underneath the unit.
If you’re ever unsure, check the user manual that came with your vacuum — it has a diagram showing the exact filter location for your model.
Step 3: Open the Filter Housing
Once you’ve found the filter compartment:
- For latch-style covers: Press both side latches simultaneously and pull the cover outward. It should release with a gentle click.
- For screw-style covers: Use a small screwdriver to remove the fastening screw, then lift the cover free.
- For twist-off covers (S11 and similar models): Grip the cap firmly and rotate counterclockwise until it loosens, then pull it away from the body.
Avoid forcing anything. If it doesn’t open easily, double-check you’re pressing the right release points.
Step 4: Remove the Old HEPA Filter
With the housing open, carefully pull out the old filter. Some models have a small handle or tab to grip — use it. Avoid squeezing or shaking the filter as you pull it out, since that can release trapped dust back into the air.
Drop the old filter directly into your trash bag and seal it. Take a moment to inspect it — if it’s gray, visibly clogged, torn, or has a persistent odor even after cleaning, you’ll know the replacement was overdue.
Step 5: Clean the Filter Compartment
Before inserting the new filter, use your soft brush or dry cloth to wipe out the inside of the filter housing. Remove any loose dust or debris that may have accumulated around the edges.
This step is easy to skip, but it matters. A clean compartment ensures a proper seal and prevents contamination of the new filter right from the start.
Step 6: Install the New HEPA Filter
Take your replacement HEPA filter out of its packaging. Orient it correctly — most filters have an arrow or a flat edge that indicates the correct insertion direction. Align it with the compartment and gently press it into place.
- For twist-in filters, rotate clockwise until it locks securely.
- For push-in filters, press firmly until you hear or feel a click.
- For screw-secured filters, replace the cover and tighten the screw snugly (don’t overtighten).
The filter should fit snugly with no gaps around the edges. If it feels loose or won’t sit flat, double-check that you have the right filter for your model.
Step 7: Reassemble and Test
Close the filter housing cover and make sure it snaps or locks into place. Reattach the battery if you removed it. Power the vacuum on and run it briefly to confirm suction has improved and no unusual noises occur.
If your Tineco has a filter indicator light, consult your user manual on how to reset it after replacement — it usually involves holding a button for a few seconds.
Tineco S11 HEPA Filter Replacement: Model-Specific Tips
The Tineco S11 is one of the most popular cordless stick vacuums in the lineup, so it deserves a closer look:
The S11’s HEPA filter is housed at the rear of the motor unit. You’ll find two latches on either side — press both at the same time and pull outward. The filter housing cover comes away cleanly, revealing the filter inside.
When installing the new filter, twist the cap clockwise until it clicks into a locked position. Power the vacuum on briefly and check that suction feels strong and responsive. If suction doesn’t improve, double-check the filter is fully seated.
Tineco A10 and A11 Series: Filter Location and Replacement
For the Tineco A10 and A11 cordless stick vacuums, the HEPA filter is located near the rear of the motor, typically accessed by pressing both sides of the rear cover and pulling it outward.
On some A10/A11 configurations, you may also need to disconnect the dustbin first. Press the dustbin release button to detach it from the main unit, then access the cylindrical filter assembly at the top of the dustbin. Twist the filter assembly counterclockwise to separate it, and pull the HEPA filter out by its handle.
When inserting the new filter, align it carefully and press or twist it into a secure fit before reattaching the dustbin.
Can You Wash a Tineco HEPA Filter Instead of Replacing It?
This is one of the most common questions — and the answer depends on your specific model.
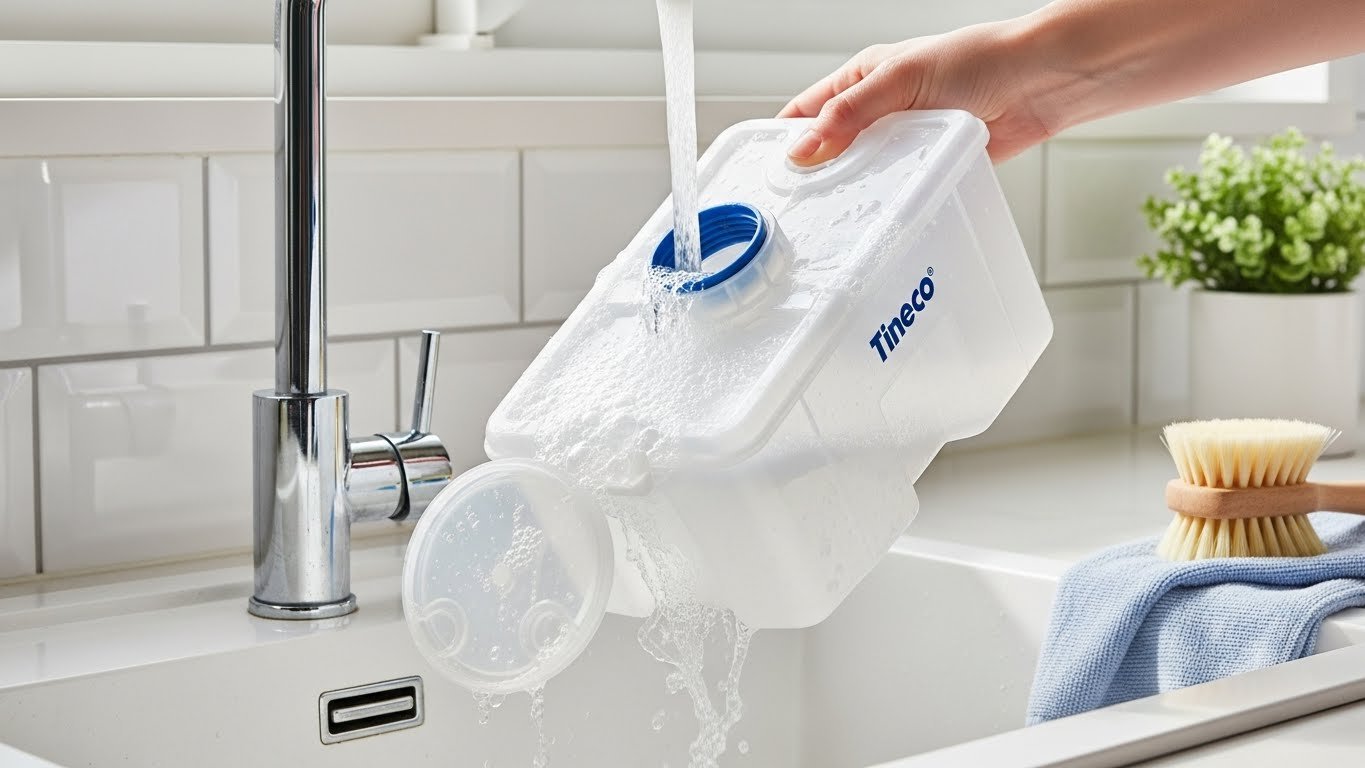
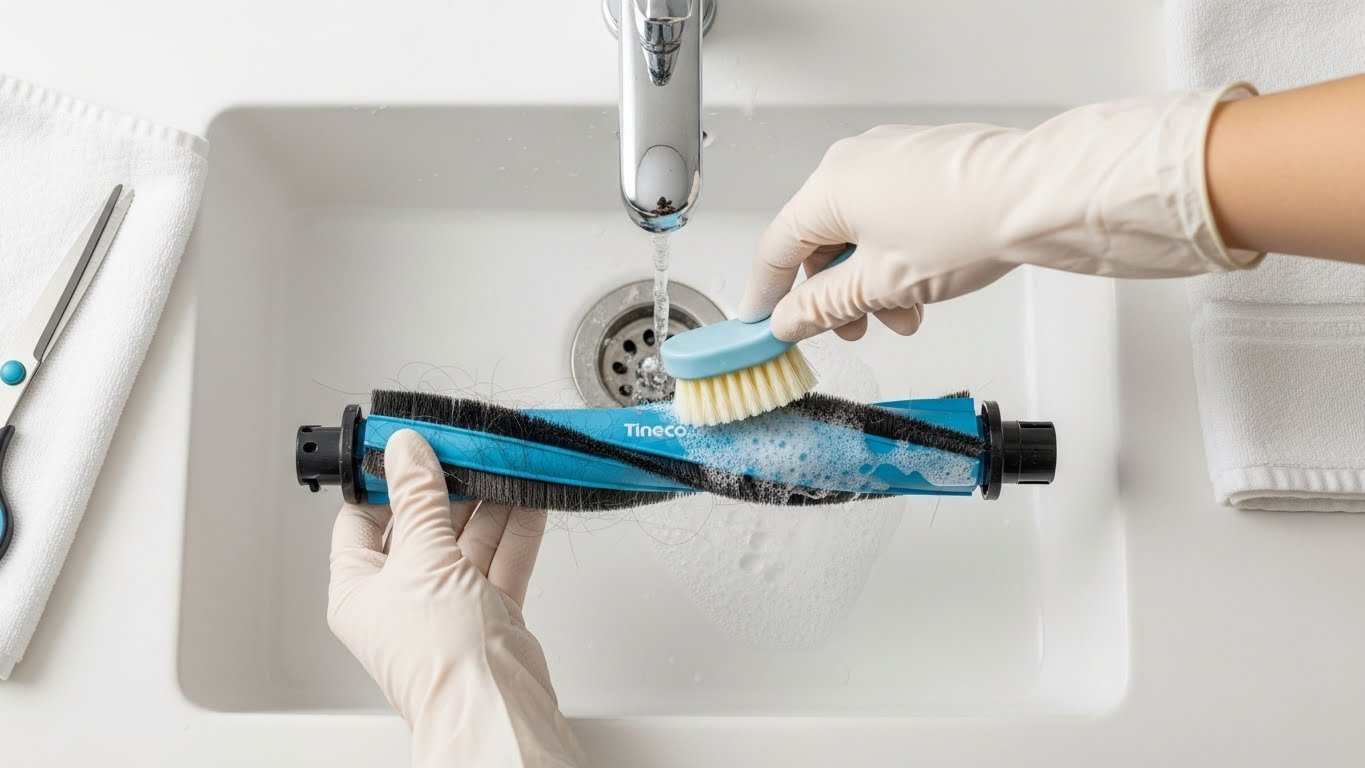
Some Tineco HEPA filters are washable (especially on the A10/A11 and Floor One series). If yours is washable, rinse it under cold, lukewarm water until the water runs clear. Do NOT use soap, detergents, or hot water.
Critical: The filter must be completely dry before reinstalling — allow at least 24 hours of air drying in a well-ventilated space. Never use a hairdryer, microwave, or direct sunlight to speed up drying. A damp filter placed back in the vacuum can cause mold growth and motor damage.
However, washing only extends the life of the filter — it doesn’t replace the need for eventual full replacement. No matter how well you clean a HEPA filter, the microscopic fibers gradually degrade and lose their ability to trap fine particles. That’s why Tineco recommends replacing the filter every 12 months regardless.
Where to Buy Genuine Tineco Replacement HEPA Filters
You can purchase replacement filters from:
- Tineco’s official website (store.tineco.com) — guarantees compatibility
- Amazon — look for “Sold by Tineco” or check verified seller ratings
- Home Depot, Target, or Walmart — often carry common Tineco filter models in-store
- Authorized appliance retailers in your area
Always verify the filter’s model compatibility before purchasing. Avoid generic third-party filters when possible — they may not provide the same filtration efficiency or fit as securely as genuine Tineco parts.
Tips to Extend the Life of Your Tineco HEPA Filter
A little routine care goes a long way:
- Clean filters after heavy use sessions, especially after vacuuming pet hair or fine debris
- Empty the dustbin regularly — an overfull dustbin forces debris into the filter faster
- Avoid vacuuming wet messes with a dry vacuum — moisture ruins HEPA filters quickly
- Store your vacuum in a clean, dry space to prevent dust accumulation between uses
- Follow Tineco’s app reminders — the Tineco app tracks filter usage and notifies you when it’s time to clean or replace
Common Troubleshooting Issues
1. Filter won’t come out: Try pressing the release latches more firmly and simultaneously. If the filter is stuck, check if there’s a locking screw you missed, or consult the user manual.
2. Suction still weak after replacement: Make sure the filter is fully seated and the housing cover is completely closed. Also check the pre-filter and dustbin for blockages.
3. New filter smells musty: This is rare with genuine Tineco filters. Ensure the filter compartment itself was cleaned before installation, and check that the dustbin is also clean.
4. Filter indicator light stays on after replacement: Refer to your specific model’s manual for the reset procedure. On many Tineco models, holding the power button for 5–10 seconds after replacement will reset the indicator.
Conclusion
Replacing your Tineco HEPA filter is a quick, affordable maintenance task that pays off in a big way. It restores your vacuum’s suction power, improves the air quality in your home, and extends the life of the motor. Whether you own a Tineco A10, A11, S11, or any other model, the process follows the same basic steps: power off, locate, open, remove, clean the housing, insert the new filter, and test.
Make it a habit to replace the filter every 12 months — or more frequently if you have pets, allergies, or a busy household. Your lungs (and your vacuum) will thank you.
Frequently Asked Questions (FAQ)
Q1: How often should I replace the HEPA filter in my Tineco vacuum?
Tineco recommends washing the HEPA filter every 3 months and replacing it entirely every 12 months. If you have pets or allergies, or if you vacuum daily, replace it every 3 to 6 months for best performance.
Q2: Can I use a third-party HEPA filter in my Tineco vacuum?
It’s not recommended. Third-party filters may not fit as precisely or filter as efficiently as genuine Tineco filters. Using an incompatible filter can reduce suction performance and may even void your warranty. Stick with OEM (original equipment manufacturer) filters when possible.
Q3: My Tineco vacuum still has weak suction after I replaced the HEPA filter — what’s wrong?
If suction is still weak, check that the new filter is properly seated and the housing cover is fully closed. Also inspect the pre-filter (foam filter), dustbin, and suction hose for blockages. A clogged pre-filter can mimic a failing HEPA filter.
Q4: Is the HEPA filter the same for all Tineco models?
No. Each Tineco model uses a specific filter size and design. Always check your model number and verify filter compatibility before purchasing a replacement. Using the wrong filter can damage the motor and reduce filtration efficiency.