Tineco vacuums are known for their sleek design, powerful suction, and advanced features. However, like any other appliance, they may require maintenance or repairs over time. Whether you need to clean the filters, replace a part, or troubleshoot an issue, knowing how to take apart your Tineco vacuum is essential. In this guide, we’ll walk you through the process step by step, ensuring you can disassemble your vacuum safely and effectively.
Why You Might Need to Take Apart Your Tineco Vacuum
Before diving into the disassembly process, it’s important to understand why you might need to take apart your Tineco vacuum. Here are some common reasons:
- Cleaning the Filters: Over time, dust and debris can clog the filters, reducing suction power. Regular cleaning is necessary to maintain optimal performance.
- Replacing Parts: Components like brushes, batteries, or motors may wear out and need replacement.
- Troubleshooting Issues: If your vacuum isn’t working properly, disassembling it can help you identify and fix the problem.
- Deep Cleaning: Removing dirt and debris from hard-to-reach areas can extend the life of your vacuum.
No matter the reason, taking apart your Tineco vacuum doesn’t have to be intimidating. With the right tools and guidance, you can do it yourself.
Tools You’ll Need to Disassemble a Tineco Vacuum
Before you start, gather the necessary tools to make the process smoother. Here’s what you’ll need:
- Screwdrivers: A Phillips head screwdriver is typically required for most Tineco models.
- Soft Cloth: To clean the components as you disassemble them.
- Compressed Air: Useful for blowing out dust from tight spaces.
- Replacement Parts: If you’re replacing a specific part, make sure you have the correct replacement on hand.
- Work Area: Choose a clean, well-lit space to work on your vacuum.
Step-by-Step Guide to Taking Apart a Tineco Vacuum
Now that you’re prepared, let’s dive into the step-by-step process of disassembling your Tineco vacuum. Note that the exact steps may vary slightly depending on your specific model, so refer to your user manual if needed.
Step 1: Turn Off and Unplug the Vacuum
Safety should always come first. Before you start, ensure your Tineco vacuum is turned off and unplugged (if it’s a corded model). For cordless models, remove the battery to prevent accidental activation.
Step 2: Remove the Dustbin
Most Tineco vacuums have a detachable dustbin for easy emptying. To remove it:
- Locate the dustbin release button or latch.
- Press the button or slide the latch to release the dustbin.
- Empty the contents into a trash bag.
- Rinse the dustbin with water (if applicable) and let it dry completely before reassembly.
Step 3: Detach the Filters
Tineco vacuums typically have multiple filters that need regular cleaning. Here’s how to remove them:
- Pre-Motor Filter: This filter is usually located near the dustbin. Twist or pull it out gently.
- HEPA Filter: Found at the top or side of the vacuum, this filter can be removed by pressing a release button or sliding it out.
- Exhaust Filter: Some models have an additional filter near the exhaust vent. Check your manual for its location.
Once removed, tap the filters gently to remove loose debris. If they’re washable, rinse them under running water and let them air dry for at least 24 hours.
Step 4: Remove the Brush Roll
The brush roll is responsible for picking up dirt and debris from floors. Over time, it can get tangled with hair or string, requiring cleaning or replacement. To remove it:
- Flip the vacuum over to access the brush roll cover.
- Use a screwdriver to remove the screws holding the cover in place.
- Lift the cover and pull out the brush roll.
- Clean the brush roll by cutting away any tangled hair or debris with scissors.
Step 5: Disassemble the Vacuum Body
If you need to access internal components, you’ll need to take apart the vacuum body. Follow these steps:
- Remove the Battery: For cordless models, slide out the battery pack.
- Unscrew the Housing: Use a screwdriver to remove the screws securing the outer casing. Keep track of the screws to avoid losing them.
- Separate the Halves: Gently pry apart the vacuum body using your hands or a plastic opening tool. Be careful not to damage any internal wires or components.
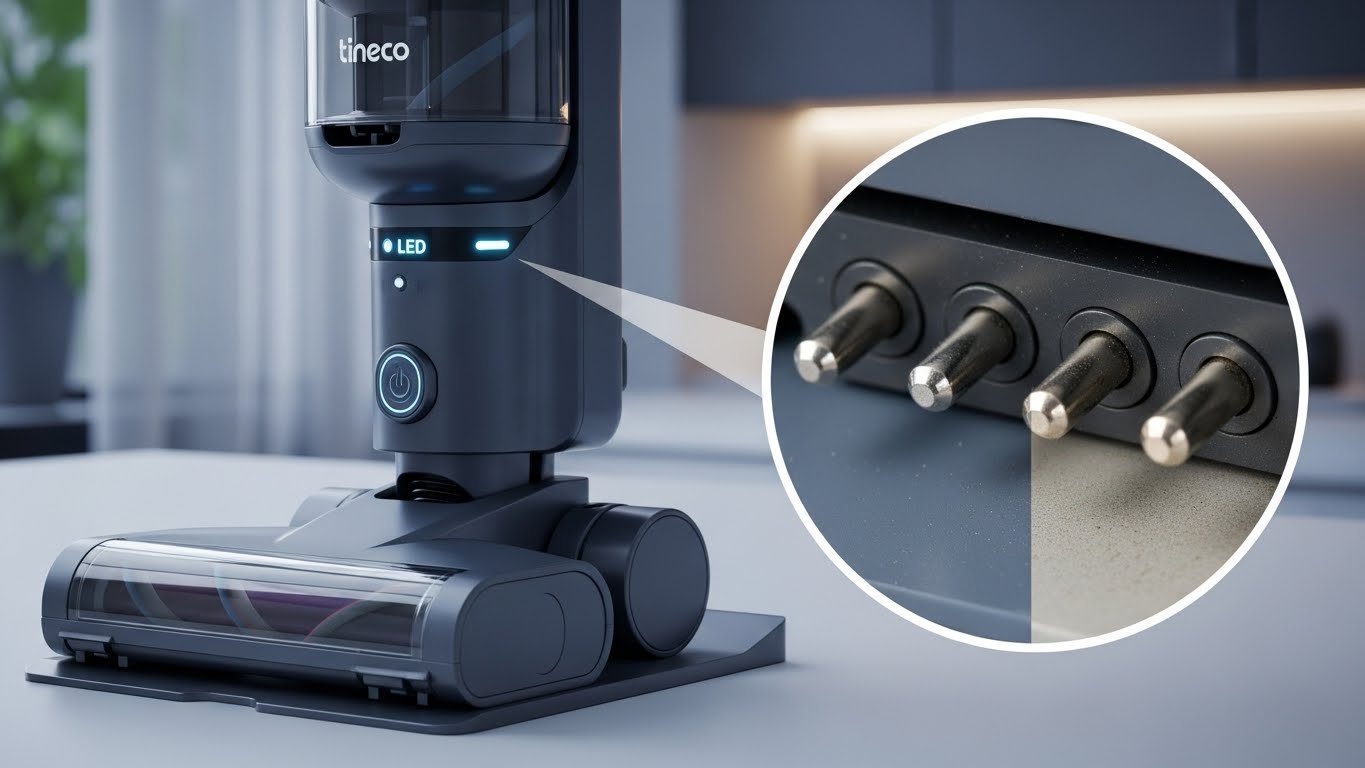
Step 6: Inspect and Clean Internal Components
Once the vacuum is disassembled, take the time to inspect and clean the internal components:
- Motor: Check for any visible damage or debris. Use compressed air to blow out dust.
- Wiring: Ensure all wires are securely connected and free of damage.
- Air Pathways: Clear any blockages in the air pathways to maintain suction power.
Step 7: Reassemble the Vacuum
After cleaning or replacing the necessary parts, it’s time to put your Tineco vacuum back together. Follow these steps:
- Reattach the Brush Roll: Place the brush roll back into its housing and secure the cover with screws.
- Reinstall the Filters: Insert the dry filters back into their respective slots.
- Reassemble the Vacuum Body: Carefully align the two halves of the vacuum body and secure them with screws.
- Reinsert the Battery: Slide the battery pack back into place (for cordless models).
- Attach the Dustbin: Click the dustbin back into place.
Tips for Maintaining Your Tineco Vacuum
Taking apart your Tineco vacuum is just one part of keeping it in good condition. Here are some additional maintenance tips:
- Clean Filters Regularly: Washable filters should be cleaned at least once a month.
- Empty the Dustbin Frequently: Don’t wait for the dustbin to fill up completely. Empty it after each use if possible.
- Check for Blockages: Regularly inspect the brush roll and air pathways for obstructions.
- Store Properly: Keep your vacuum in a cool, dry place to prevent damage.
Conclusion
Knowing how to take apart a Tineco vacuum is a valuable skill that can save you time and money. By following this step-by-step guide, you can safely disassemble your vacuum, clean or replace its components, and keep it running smoothly for years to come. Regular maintenance not only extends the life of your vacuum but also ensures it performs at its best every time you use it.
Whether you’re a DIY enthusiast or a first-time vacuum owner, this guide empowers you to take control of your Tineco vacuum’s upkeep. Happy cleaning!