Quick Answer
If your Tineco A10 is not charging, the most common causes are a loose adapter connection, a dirty or damaged charging port, a faulty outlet, or a battery that's dropped into deep sleep mode. Start by checking the adapter and outlet, then clean the charging contacts, and finally try a battery reset by holding the power button for 15–20 seconds while the battery is detached. Most units start charging again within these first three steps. If the light stays off or blinks red after that, the battery pack itself likely needs replacing.
Key Takeaways
- A blinking red light or no light at all during charging almost always points to a power delivery issue, not a dead battery.
- Always test with the original Tineco adapter — third-party chargers are a leading cause of Tineco A10 battery not charging complaints.
- Dust and hair buildup on the charging pins is a surprisingly common culprit and takes seconds to fix.
- A soft reset (removing the battery, holding the power button, reattaching) clears minor software glitches without any tools.
- If the vacuum overheats or smells odd while charging, stop immediately and treat it as a safety issue, not a routine fix.
- A battery that won't hold charge after 18–24 months of regular use is likely at the end of its natural lifespan.
- Tineco batteries carry a two-year warranty on most A10 models, so check your purchase date before buying a replacement.
Below, we'll walk through every fix in order — from the fastest checks to the ones that require a replacement part — so you can get your A10 back on the charger and running.
What Does It Mean When a Tineco A10 Won't Charge?
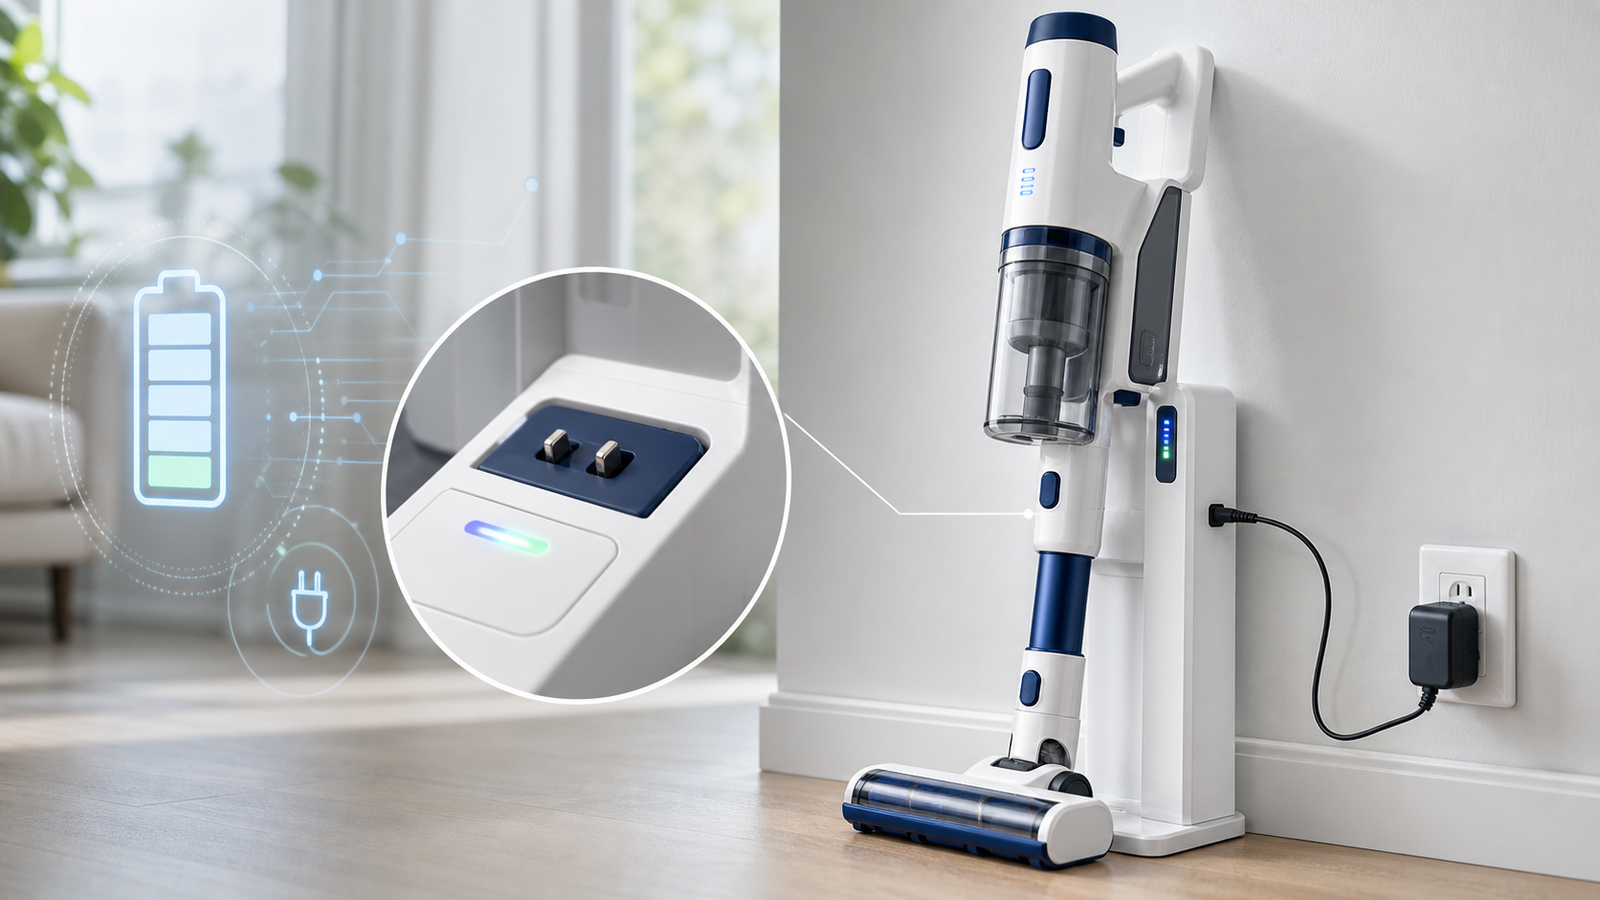
When a Tineco A10 won't charge, it means the vacuum's battery isn't receiving or accepting power from the charging dock or adapter. This shows up as no indicator light, a light that blinks red instead of turning solid, or a battery percentage that never moves even after hours on the dock.
The A10 line includes several sub-models — A10 Hero, A10 Master, A10 Dash, and A10 SPARTAN — and while the body design differs slightly, the charging system and most fixes are the same across the lineup. If you're not sure which model you own, check the sticker on the underside of the battery pack.
Why Is My Tineco A10 Battery Not Charging?
Your Tineco A10 battery isn't charging because of one of four things: a power supply problem, a dirty or damaged connection point, a battery that has gone into a low-power protective state, or a battery that has genuinely reached the end of its usable life. Roughly 80% of charging complaints trace back to the first two, which is good news — they're also the easiest to fix yourself.
Common Causes at a Glance
| Cause | How Common | Fix Difficulty | Typical Fix Time |
|---|---|---|---|
| Loose or faulty adapter connection | Very common | Easy | 2 minutes |
| Dirty charging contacts | Common | Easy | 5 minutes |
| Weak or dead outlet | Common | Easy | 2 minutes |
| Software glitch (needs reset) | Moderate | Easy | 5 minutes |
| Clogged airflow causing overheat shutdown | Moderate | Medium | 10 minutes |
| Battery reached end of life | Less common | Requires replacement | Varies |
| Charging port damage | Uncommon | Requires repair/replacement | Varies |
How Do You Fix a Tineco A10 That Won't Charge?
You fix a Tineco A10 that won't charge by working through checks in order of likelihood, starting with the power source, then the physical connection, then a soft reset, and finally the battery itself. Don't skip steps — even experienced users are often surprised which fix actually solves it.
Step 1: Check the Power Adapter and Outlet
Start here every time, because a stable power supply is the single biggest factor in charging success.
- Inspect the adapter for frayed wires, cracks, or bent prongs.
- Try a different outlet to rule out a tripped breaker or dead socket.
- Confirm you're using the original Tineco adapter. Off-brand chargers frequently deliver the wrong voltage or amperage, which the A10's battery management system will reject as a safety measure.
- Push the plug in firmly. A connection that looks seated but isn't fully clicked in is one of the most overlooked causes of failed charging.
If the adapter feels warm to the touch or the vacuum won't power on at all with it plugged in, that's a strong signal the adapter itself has failed and needs replacing.
Step 2: Clean the Charging Contacts
Charging pins that look fine can still be coated in a thin film of dust, hair, or dried floor residue that blocks the electrical connection.
- Unplug the unit before cleaning.
- Wipe the metal charging pins on both the battery and the dock with a dry cloth or a cotton swab lightly dampened with isopropyl alcohol.
- Let the contacts air-dry fully for a minute before reconnecting — any moisture left behind can interfere with the connection.
This step alone resolves a meaningful share of "no light" charging complaints, since the A10's charging contacts sit at floor level and collect debris quickly.
Step 3: Reset the Battery
A soft reset clears minor firmware hiccups that can make the battery management system stall, even when the hardware is fine.
- Detach the battery pack from the vacuum body.
- Press and hold the power button for 15–20 seconds. This drains any residual charge from the internal circuit.
- Reattach the battery to the vacuum.
- Place it back on the charging dock or plug in the adapter and watch for the indicator light.
If the light turns solid (rather than blinking) within a few minutes, the reset worked and you can let it charge normally.
Step 4: Check for Airflow Blockages
A clogged hose or nozzle can cause the motor to overheat during use, and some A10 models will lock out charging temporarily as a protective measure until the unit cools and the blockage clears.
- Detach the hose and check for trapped debris or hair.
- Check the nozzle and brush roll area for tangled hair or string.
- Let the vacuum sit for 20–30 minutes to cool down before attempting to charge again.
Step 5: Charge the Battery Installed, Then Uninstalled
Tineco's own support guidance for the A10 SPARTAN recommends testing both configurations: charge with the battery attached to the vacuum body first, and if that doesn't work, remove the battery and connect it to the charging dock on its own. Some units respond to one method but not the other, which helps isolate whether the fault is in the battery, the vacuum body, or the dock itself.
Step 6: Rule Out a Damaged Charging Port
Look closely at the port on both the vacuum body and the battery for bent pins, corrosion, or visible cracks. If you see physical damage, charging won't succeed no matter how many resets you try — this points to a hardware repair rather than a software fix.
Step 7: Test With a Different Battery or Adapter (If Available)
If you own multiple Tineco cordless vacuums or can borrow a compatible battery or adapter from another A10 owner, swapping components is the fastest way to confirm whether the fault lies in the battery pack or the vacuum body itself.
Step 8: Contact Tineco Support or Replace the Battery
If none of the above resolves it, the battery pack has likely reached the end of its usable charge cycles. Lithium-ion batteries in cordless vacuums typically hold a meaningful charge for 18–24 months of regular use before capacity degrades noticeably.
- Check your purchase date — most A10 batteries carry a two-year warranty, so you may be covered for a free replacement.
- Contact Tineco support directly with your model number and a description (photos or video of the charging light behavior help them diagnose faster).
- If out of warranty, an official replacement battery is the safer option over third-party packs, which can affect both performance and safety.
Mistakes to Avoid When Troubleshooting Charging Issues
- Don't force the trigger while inspecting the machine unless a step specifically tells you to — Tineco's own guidance warns against this, as it can trigger error states.
- Don't use non-Tineco chargers, even if the plug fits. Voltage mismatches can damage the battery management system permanently.
- Don't ignore unusual smells or heat. If the vacuum smells burnt or the battery feels hot during charging, unplug it immediately and don't attempt further charging until it's inspected.
- Don't assume it's dead after one failed attempt. Batteries in deep sleep mode sometimes need 30–60 minutes on the charger before the indicator light responds.